


I feel like I’m the only one who cares that Valentine’s Day is coming up, which is crazy because I’m still single! I haven’t seen many other foodie types posting recipes for it, but since I’m usually so late to put out holiday recipes maybe this is just what it’s like to be on time. Red velvet is so great for recipe developers/baking bloggers because you can put a recipe out around Christmas and it works, but then it also does double duty when you want to pull it out again in February. I didn’t have that foresight this year. I promise promise promise there are more non-chocolate recipes coming up over the next few weeks I kind of just have a one track mind right now.
There are two important variables in this recipe. The first is the difference between using Dutch process cocoa and natural cocoa. I call for Dutch-process in this recipe because I think the flavor is way better, but I’m giving you an option to use natural because Dutch-process cocoa isn’t sold at every grocery store. But you’d be surprised! It’s definitely at Stop&Shop, Whole Foods, Wegmans, and a few other places. You can check easily on any grocery delivery app. Natural cocoa is almost always available.
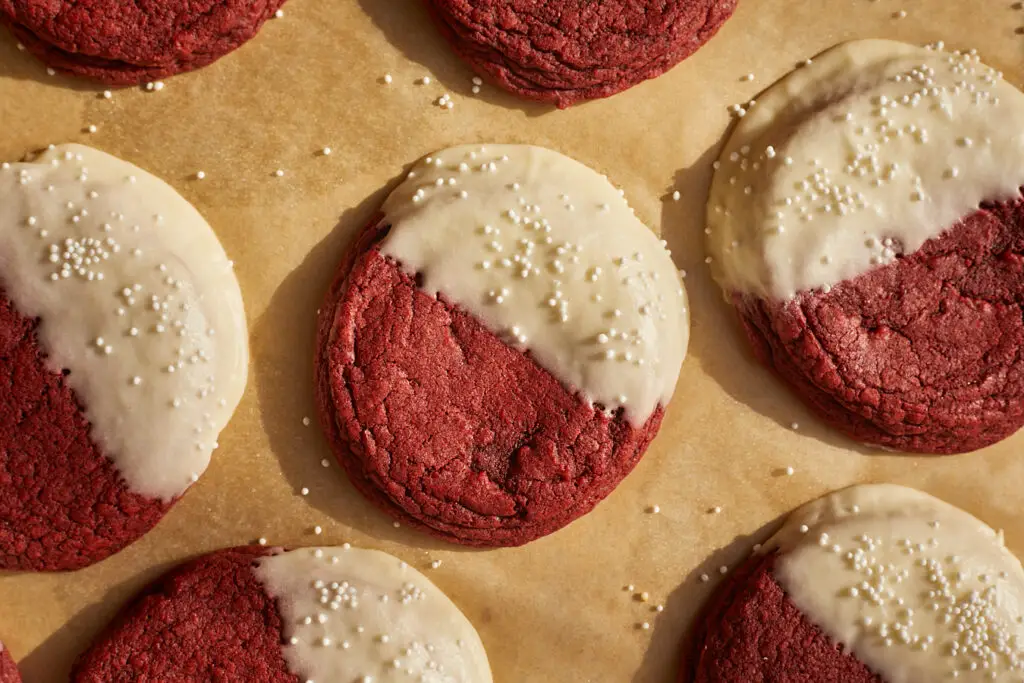
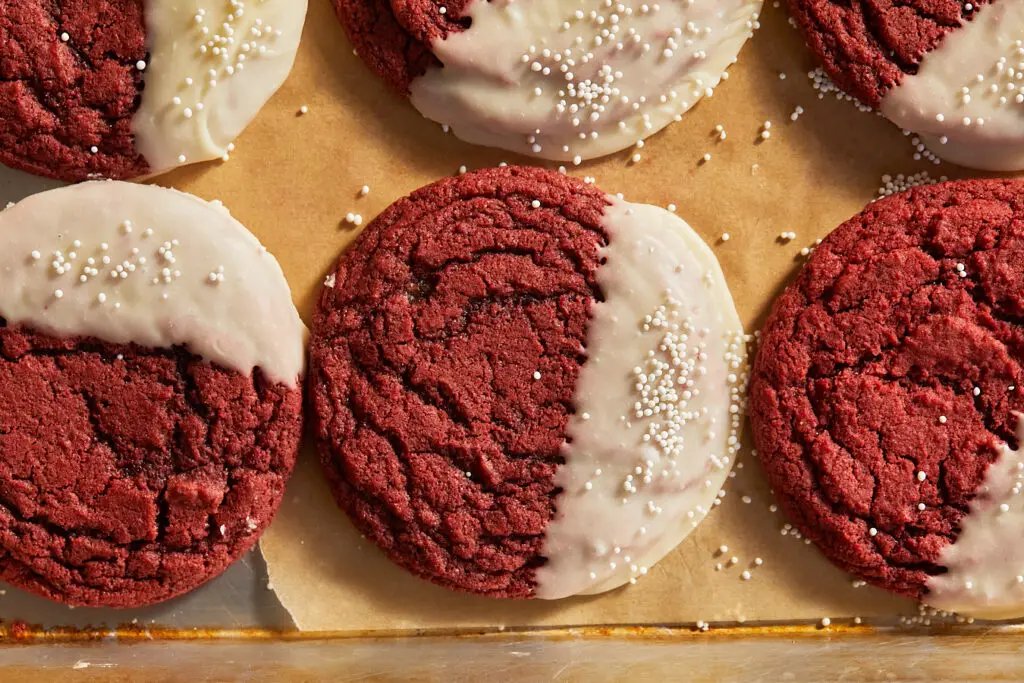
Because the recipe contains only two tablespoons of cocoa, and natural cocoa is lighter in color, the cookies come out a slightly more vibrant red, if you care about that. But keep in mind, acidic natural cocoa also reacts with the baking soda in the recipe whereas Dutch-process, which has been neutralized through alkalization, does not. This process makes Dutch cocoa more mellow, but it also deepens its color, which is why the red won’t shine through quite as much, but it will still be red! It also means that, if you use natural cocoa, we need to take 1/4 teaspoon of that baking soda out since it will get a boost from the natural cocoa anyway. See the notes for further details.
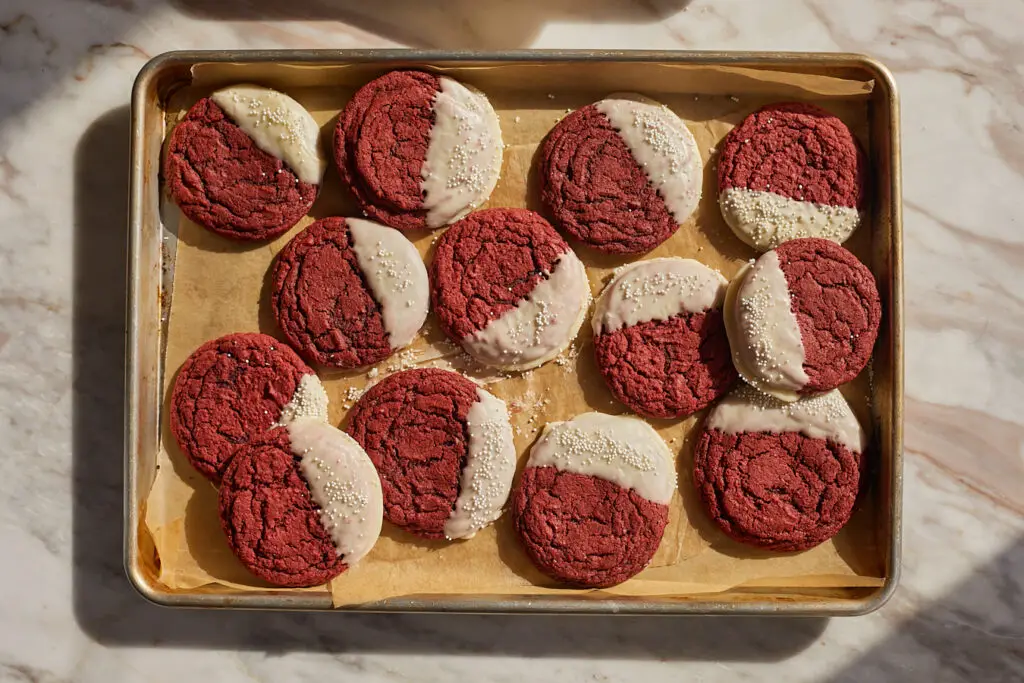
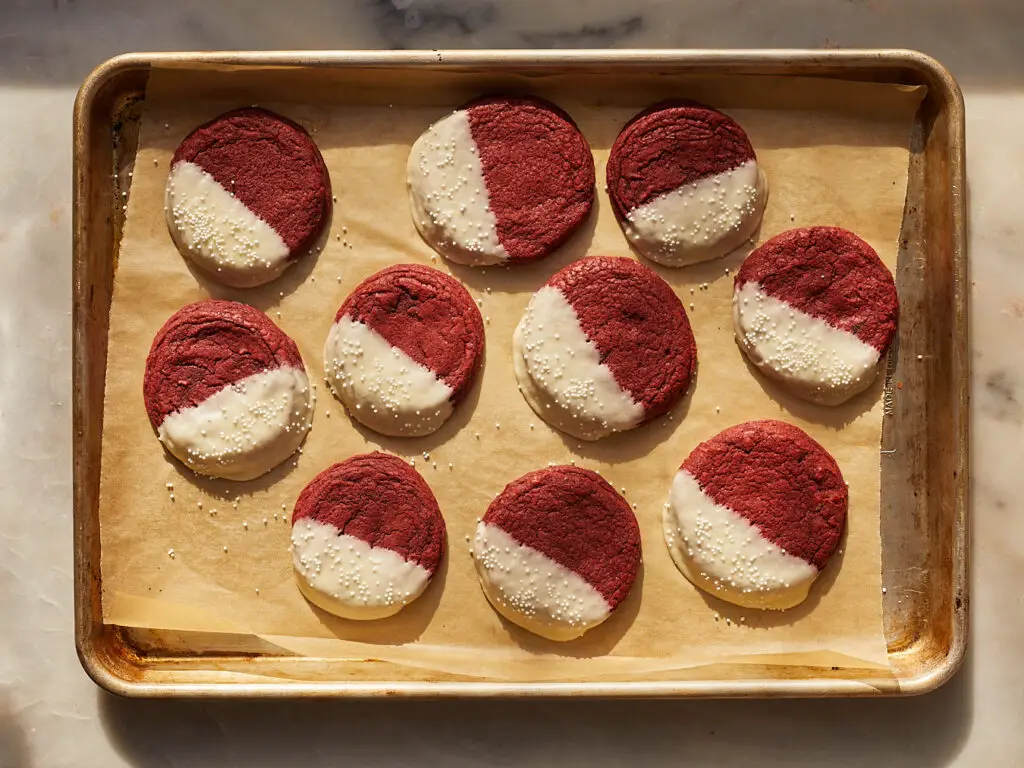
Above is a good example of the slight color difference imparted by cocoa during my testing rounds. The slightly darker cookies used one tablespoon of natural and one tablespoon of Dutch. The more vibrant ones used all natural. Both have the same amounts of baking soda, but you can tell that the all-natural cookies spread and cracked slightly more.
The second variable is more straightforward. I’m simply giving you the option of dipping the red velvet cookies in white chocolate rum butter glaze … or just melted white chocolate. Both require you to get out a double boiler setup or very gently microwave, but the melted white chocolate is just simpler. I tried both and couldn’t decide between them!
Did you make these red velvet cookies? I want to see! Tag me @easygayoven on Instagram and TikTok!

Red Velvet Cookies
Ingredients
Cookies
- 10 tablespoons unsalted butter gently melted (142 grams)
- 2/3 cup light brown sugar (130 grams)
- 2/3 cup granulated sugar (147 grams)
- 1 large egg
- 1/2 teaspoon red food coloring
- 1/2 teaspoon distilled white vinegar
- 1 teaspoon vanilla extract
- 3/4 teaspoon baking soda 1/2 teaspoon if using natural cocoa — see note
- 1/2 teaspoon baking powder
- 3/4 teaspoon Diamond Crystal kosher salt
- 2 tablespoons Dutch-process cocoa powder (16 grams)
- 1 3/4 cups all-purpose flour measured using the spoon-and-sweep method (228 grams)
White Chocolate Rum Butter Glaze
- 2 ounces finely chopped white chocolate from a bar or wafers, not morsels
- 2 tablespoons unsalted butter at room temperature or gently melted (28 grams)
- 1 cup powdered sugar 115 grams
- 1 teaspoon rum or vanilla extract
- 1 tablespoon boiling water
- Sprinkles optional
or White Chocolate Dip
- 6-8 ounces finely chopped white chocolate from a bar or wafers, not morsels
Instructions
- In a large mixing bowl, whisk together the melted butter and sugars until combined. Add the egg, red food coloring, vinegar and vanilla, and whisk until glossy-looking.
- Sift the baking soda, baking powder, salt and cocoa powder over top of the mixture. Whisk until completely incorporated, ensuring there are no lumps.
- Add the flour and fold in with a rubber spatula until the last streaks of white disappear.
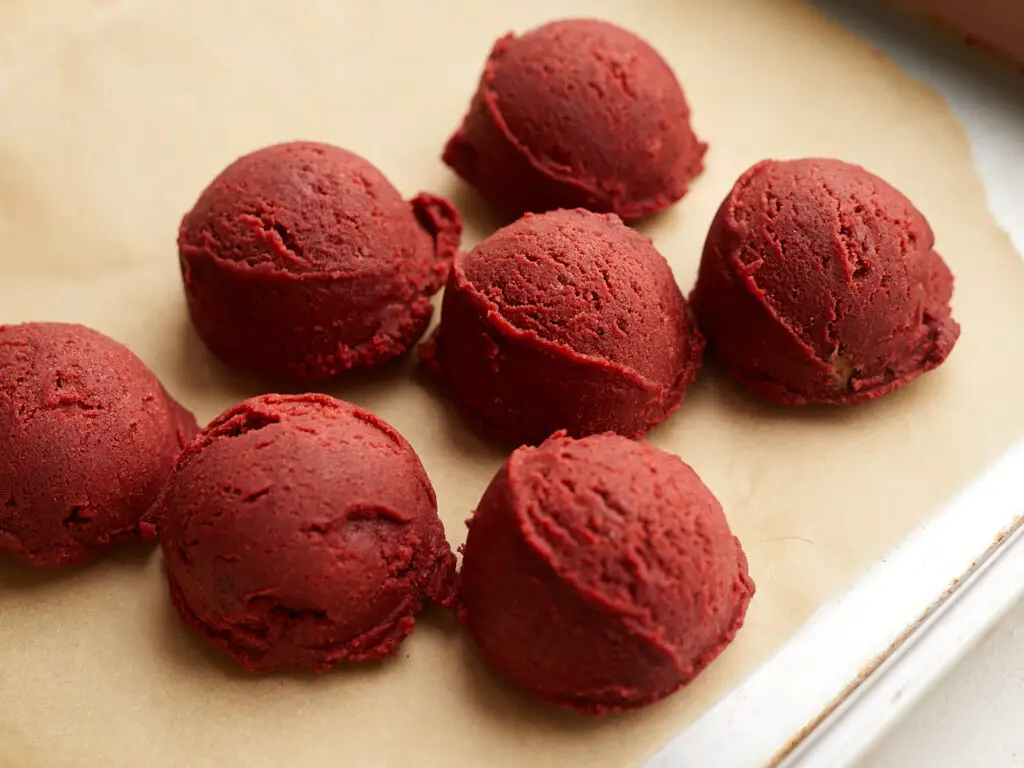
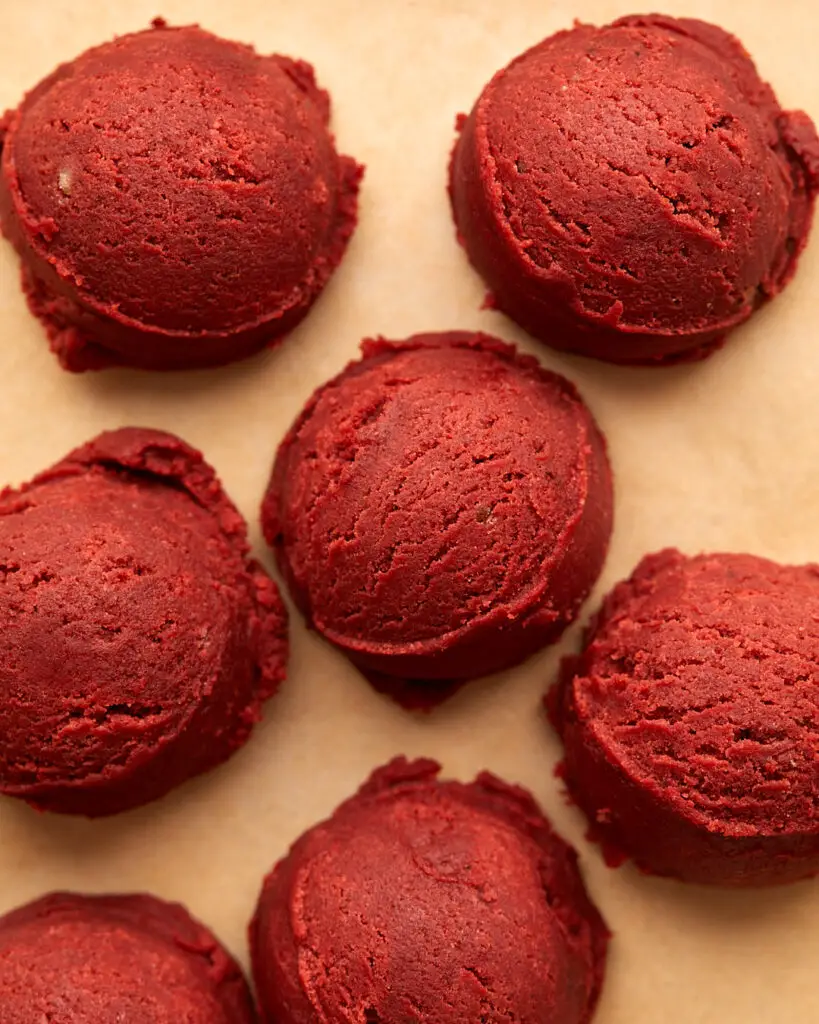
- Chill, covered, in the refrigerator for 30 minutes. Then measure out about 14 dough balls using a 1.5 ounce scoop. Cover the balls and chill them again for an hour.
- Preheat the oven to 350°F. When the oven is preheated, place 7 dough balls on a parchment-lined half sheet tray.
- Bake for 8-10 minutes on the middle rack. They should be set on the edges but still slightly underdone in the center. Allow to cool for a minute or two on their tray, then transfer to a wire rack to cool completely. Repeat with the remaining dough.
- Prepare the glaze. For the white chocolate rum butter glaze: Set a large heat-safe bowl on top of a saucepan or pot filled with an inch of water; the bottom of the bowl should not touch the water. Bring the water to a gentle simmer over low heat. Add the butter and white chocolate to the bowl and allow to melt, stirring occasionally.
- Once the mixture is melted and totally smooth, transfer the bowl to your work surface and beat in the powdered sugar as well as you can (you may not get it totally combined.) Mix together 1 tablespoon of the simmering water and the rum in a small bowl, then drizzle that into the butter and white chocolate mixture and continue beating until it comes together in a thick glaze.
- Dip one of the cooled cookies to see if the glaze is thick enough. If it runs off, wait a minute or two, stir well and try again. It should be thick and opaque, but don’t wait too long because it will set up quickly. Dip the cookies about one-third into the glaze then place back on the parchment-lined sheet to set completely. Top the glaze with sprinkles, if desired.
- For melted white chocolate dip, set a large heat-safe bowl on top of a saucepan or pot filled with an inch of water; the bottom of the bowl should not touch the water. Bring the water to a gentle simmer over low heat. Add the white chocolate to the bowl and allow to melt, stirring occasionally, until about 85% of the chocolate is melted. Remove the bowl from the heat and continue stirring until it’s totally melted and smooth. Dip the cookies about one-third into the glaze then place back on the parchment-lined sheet to set completely. Top the white chocolate with sprinkles, if desired.
Notes
- If you opt to use natural cocoa, use only 1/2 teaspoon of baking soda. Using natural cocoa will produce a slightly more vibrant red cookie with a bit less flavor, but I understand Dutch-process is sometimes hard to find.
Let's keep in touch...
Newsletter subscribers receive early access to new recipes, my best recipe, culture and product recommendations, and updates on all things easygayoven.
(Plus, paid members receive a bonus, exclusive recipe every month!)
For even more, follow along on Instagram and TikTok @easygayoven and at easygayoven.substack.com
© easygayoven 2022 | design by tonic

+ Show / Hide Comments
Share to: