
In brainstorming names for this recipe, I’ve come across a definition dilemma. Is it a pizza pocket because the fillings of pepperoni, sauce and mozzarella cheese go *into* the pocket and then are sealed in— or, is it a pocket pizza because they are small enough to fit *into your pocket*? I landed on “pocket pizza pies” because all those definitions fit this recipe, and also the casing around the pizza toppings is actual, flaky pie crust. (You could also call these pizza hand pies because they do fit in your hand!)
That is, pie crust that’s shatteringly flaky, buttery, and flavored with herbs like rosemary and/or oregano. So, basically they are homemade Hot Pockets, but without a bread-y casing, and a bit smaller. But they do have the same propensity to burn your tongue with hot, molten pizza sauce if you dig in too early.
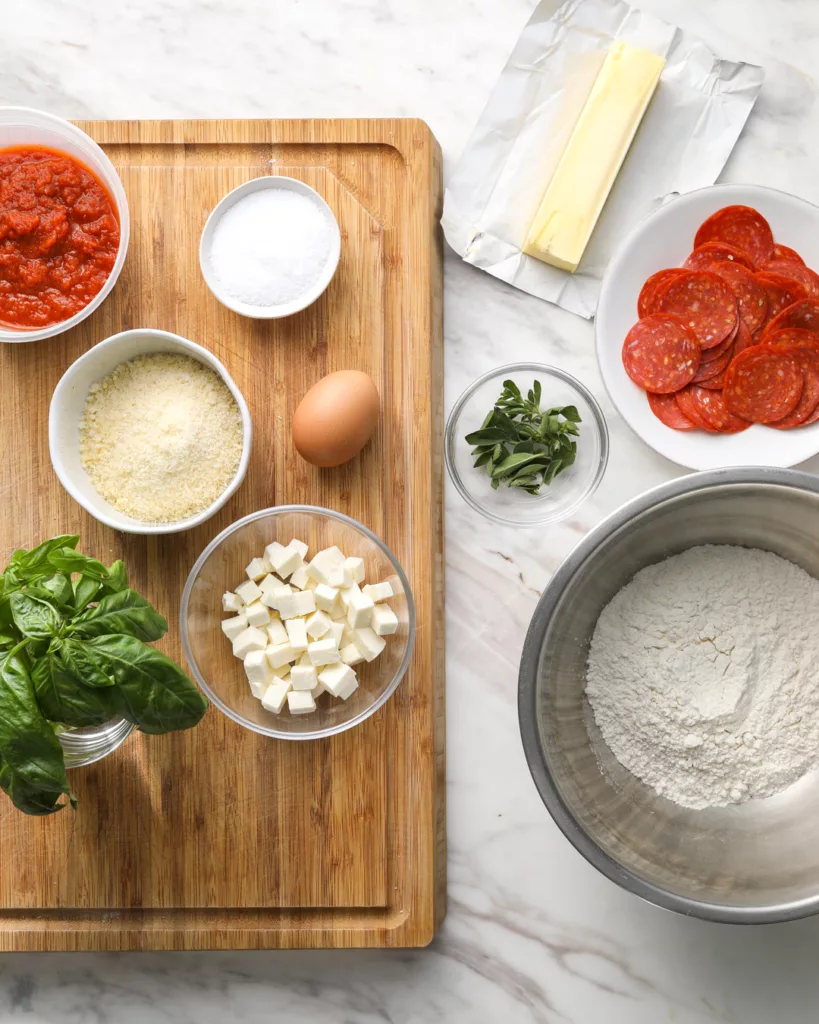
Here are 3 tips for making these pocket pizza pies:
Chilled pie dough is happy pie dough.
This recipe calls for chilling the pie dough twice: once after forming it together in a flat disc, and again once the hand pies are assembled. However, depending on the temperature of your kitchen, you may find that you need to chill the dough again after rolling it out, or cutting out the tops and bottoms for the pies. Any time the dough feels too slack or begins to look a little greasy, stick it in the fridge for 10 minutes. When pie dough isn’t cold enough, the butter can leak out leaving you with a crust that is greasy and won’t puff up.
Don’t over-stuff the pies.
If you put too much sauce, cheese, or pepperoni on the bottom crust, it will become difficult to stretch the top crust over and crimp the two together to seal them in. (If a some sauce leaks out, it’s okay. You really won’t be able to see it after they bake.) As the pies bake, the filling will bubble and expand, which is why we cut vents in the tops. If you have some small blowouts during baking, with pies spewing cheese, it’s not the end of the world. They will still be delicious.
No cookie cutters? No problem.
You can use a pizza wheel or pastry cutter to cut rectangles about 2.5 inches by 5 inches (or 2 by 4 inches for smaller ones) then fill them like you would empanadas. Situate the rectangle vertically, brush all the way around the borders with the egg wash, then place the toppings on the bottom half and fold over the top half. Seal and crimp the open sides with a fork.
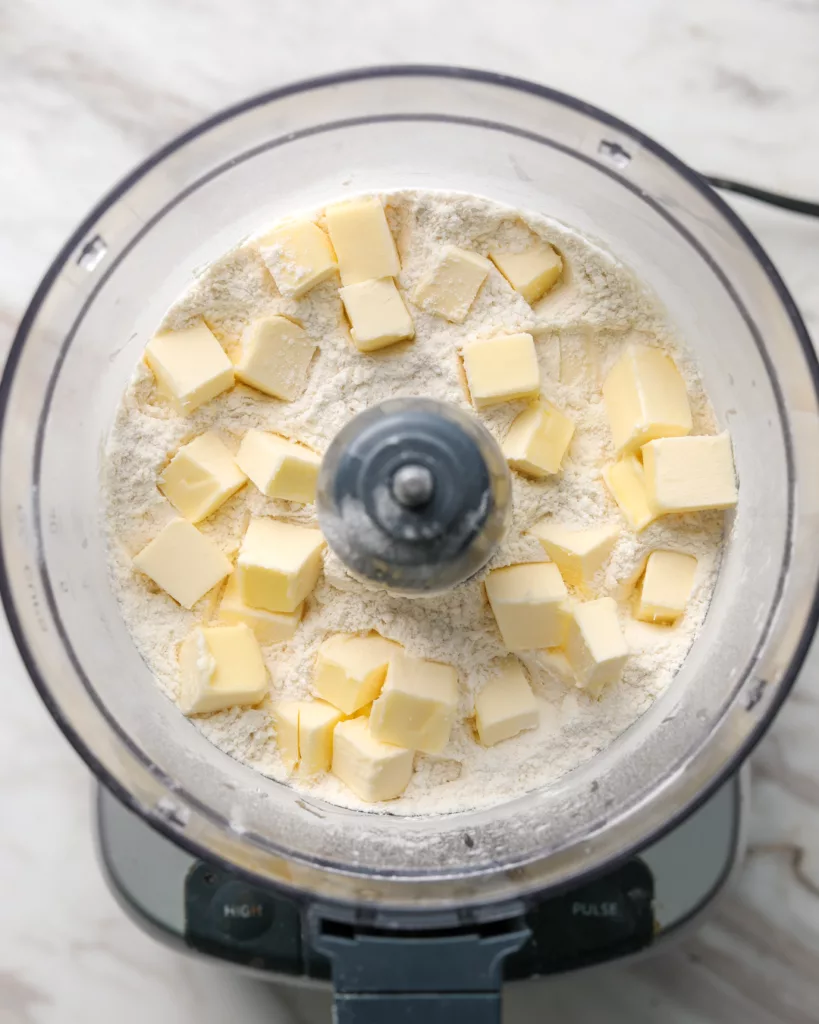
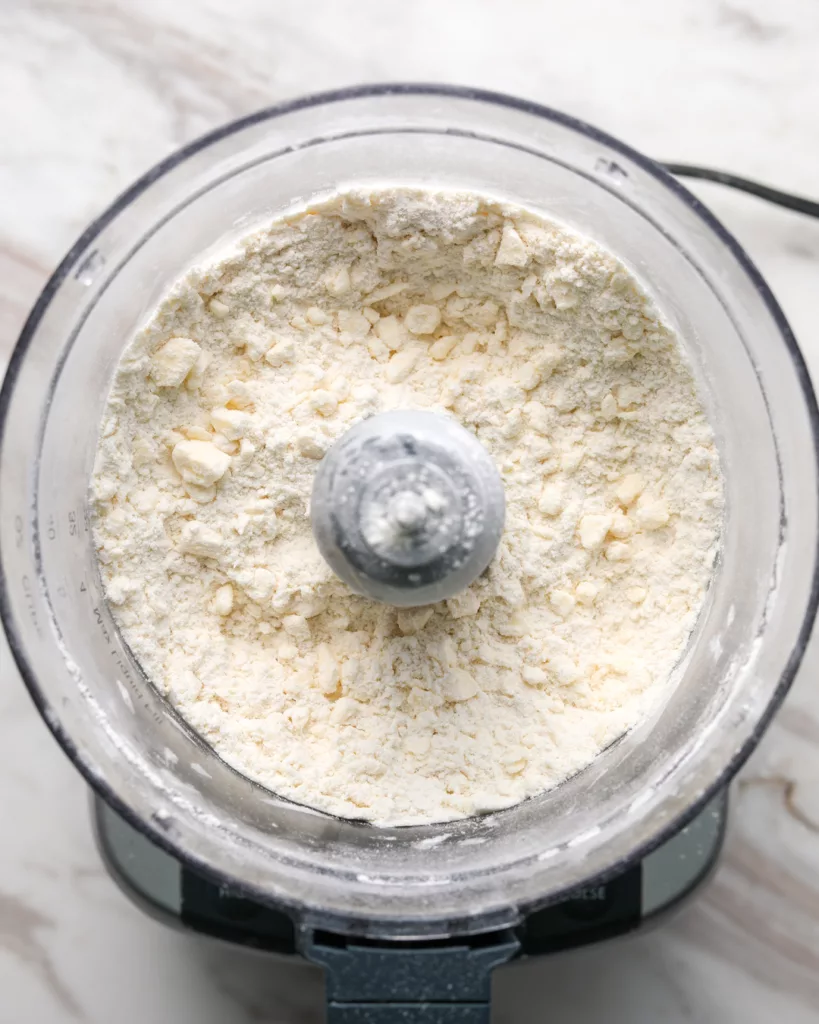
How to make pie crust for pizza pockets
For flakey pie crust, pulse the flour, salt, herbs and butter just until the butter is the size of peas. The smaller the butter pieces get the more crumbly and short your crust will be. You also want to make sure you don’t over or under-hydrate the dough. This is why we add the ice water a couple tablespoons at a time. Different flour brands absorb water differently, so it’s best to just judge by sight and feel. The dough should start together in the food processor after around 3 tablespoons of ice water. I like to dump it out onto a lightly floured work surface and work it together with my hands to finish mixing. I press the dough down, then use a bench scraper to fold any unincorporated bits of dough over on top. Then press down again.
If the dough is still too dry, you can sprinkle on a little more ice water to get it to come together, pressing down and folding it over itself until it’s one cohesive disc. At that point, you can wrap and chill it for about an hour in the fridge. When you roll out the pie crust, you should still be able to see small streaks of butter. That’s a sign that your crusts will puff up in the oven and have a flakey texture.
How to assemble pizza hand pies:
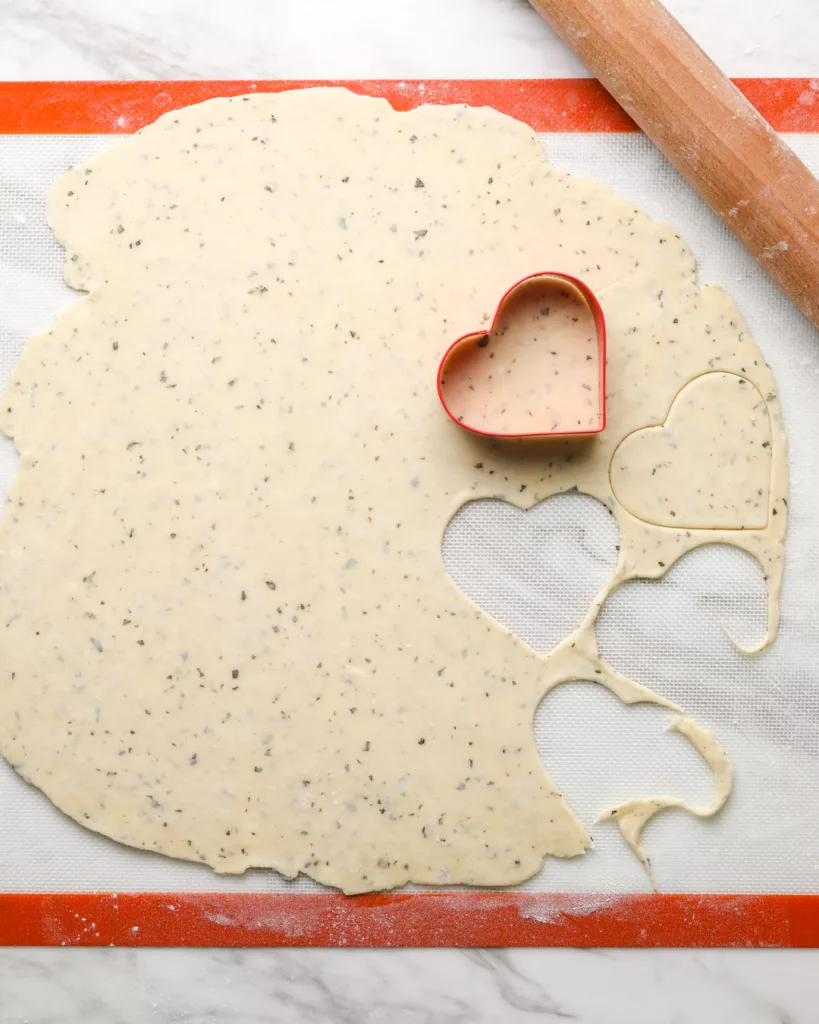
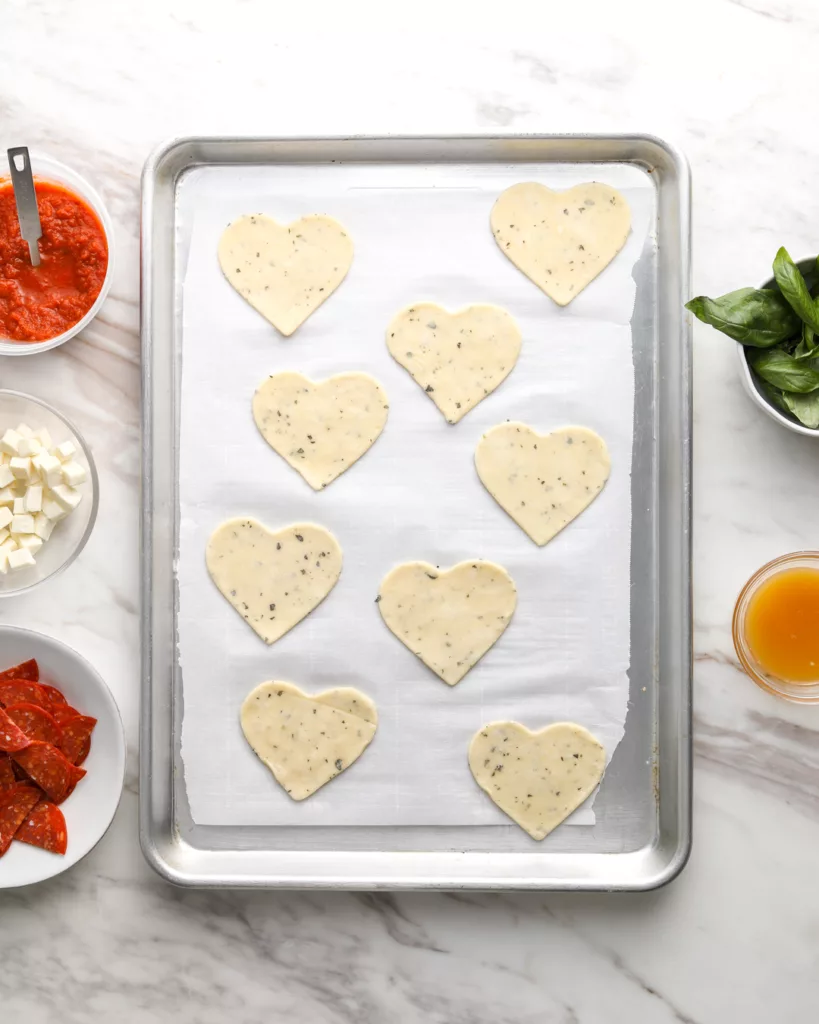
I recommend setting up an assembly line of sorts to fill the pies. Having all your fillings prepped and ready to go will make this tedious part of the recipe go faster.
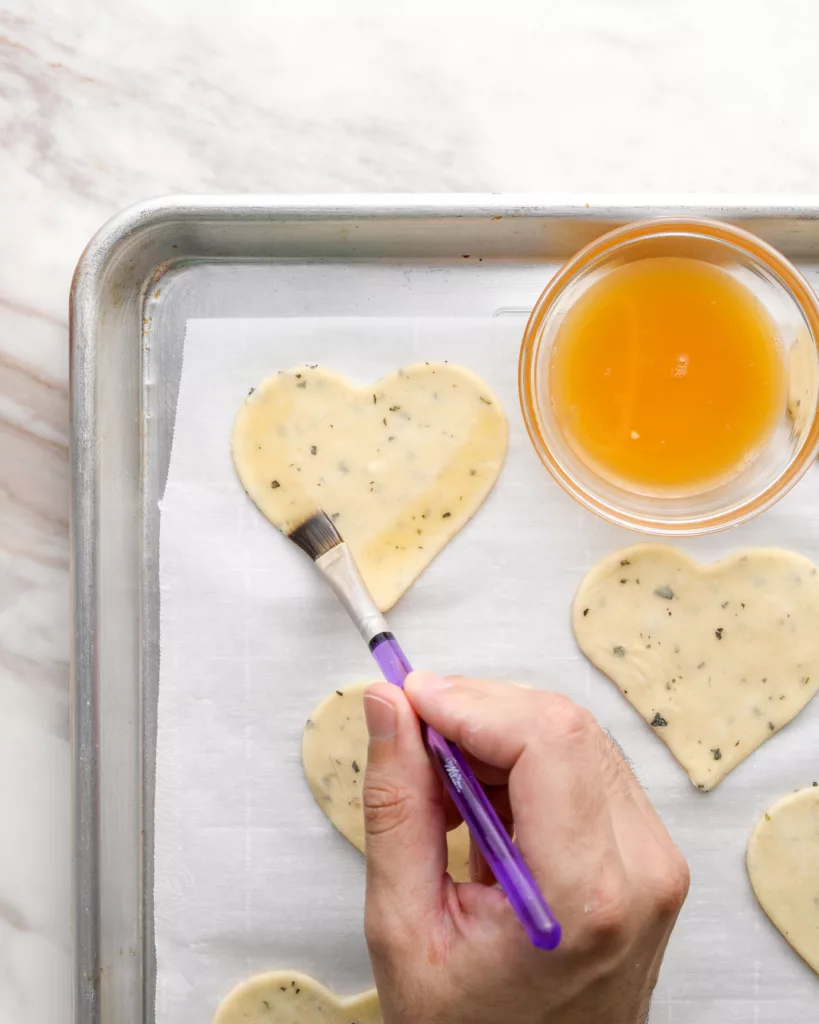
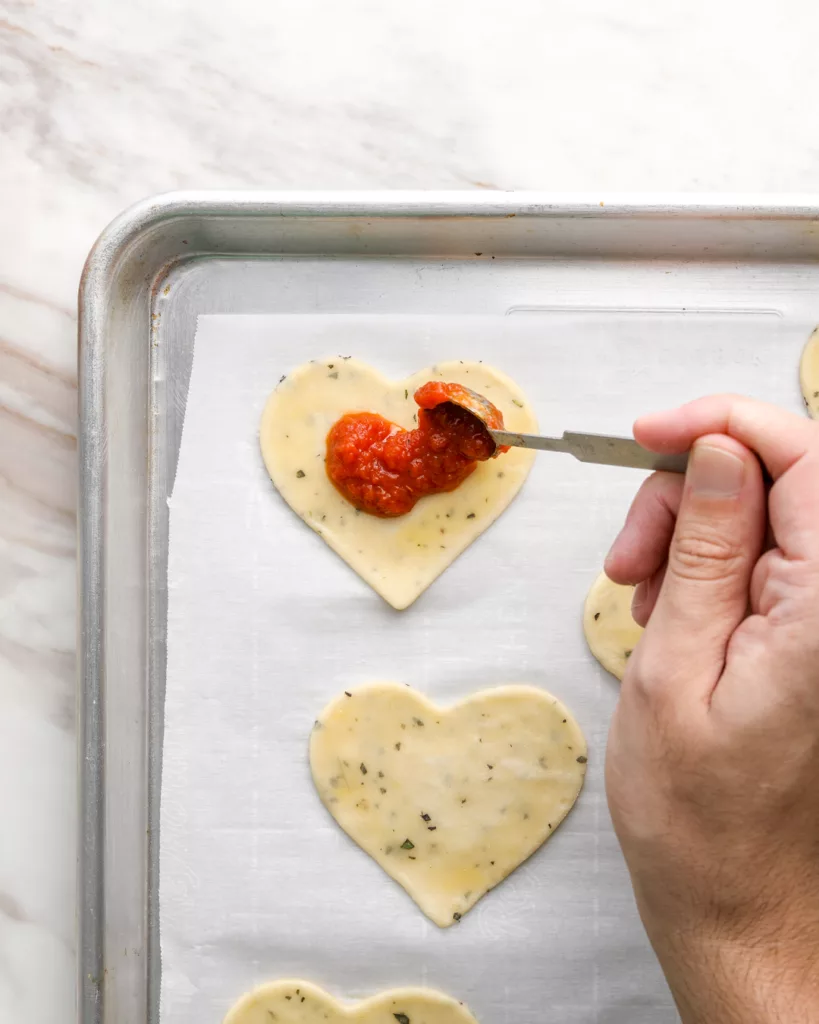
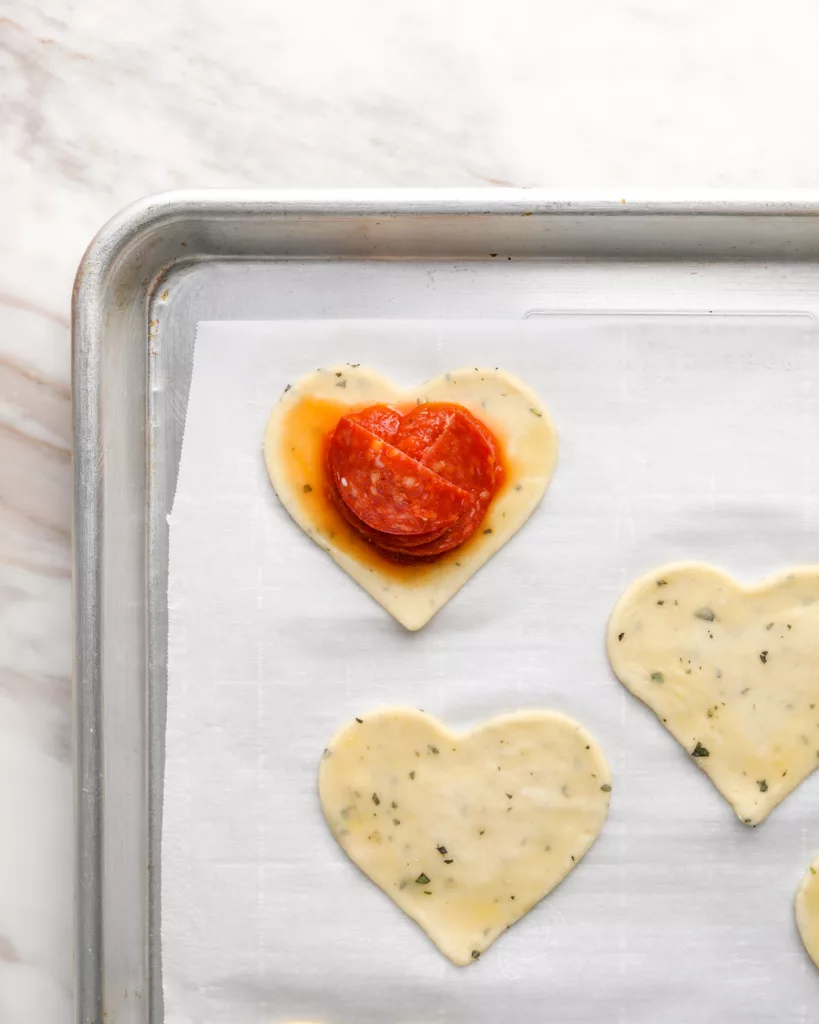
You might find that it’s faster for you to do one step for every pie (as in, brush every bottom with egg wash, then put pepperoni on top of every bottom, etc.) and that’s fine as long as your egg wash doesn’t dry out in the meantime.
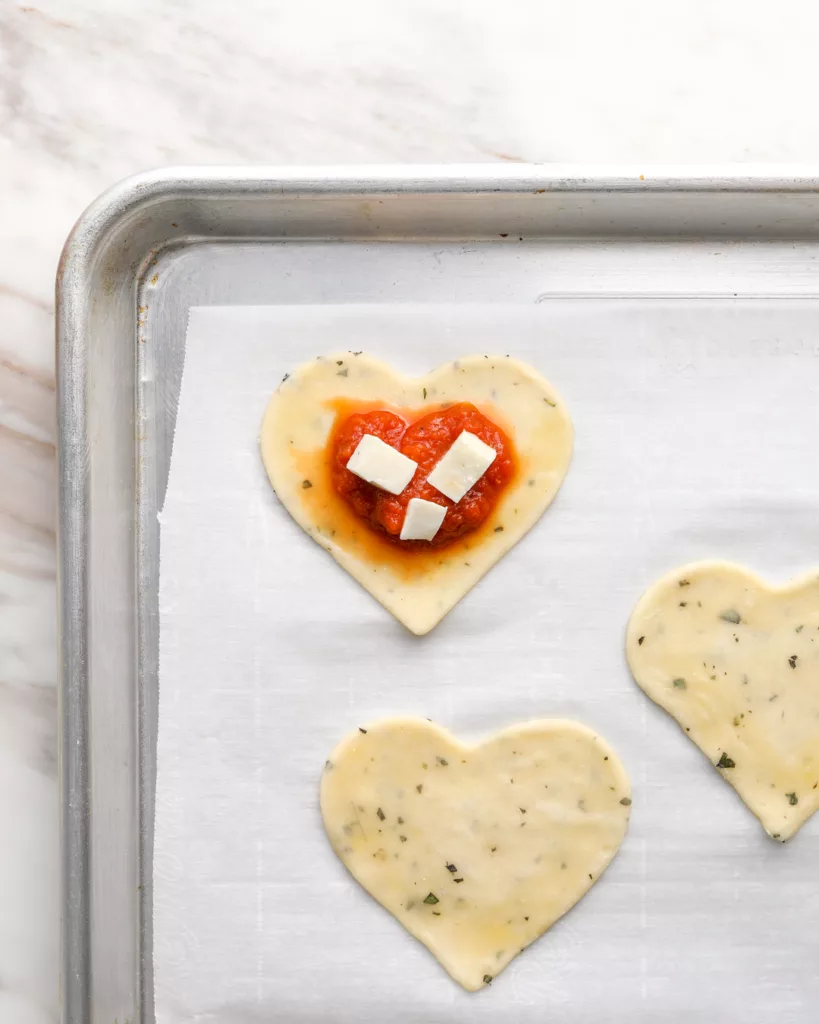
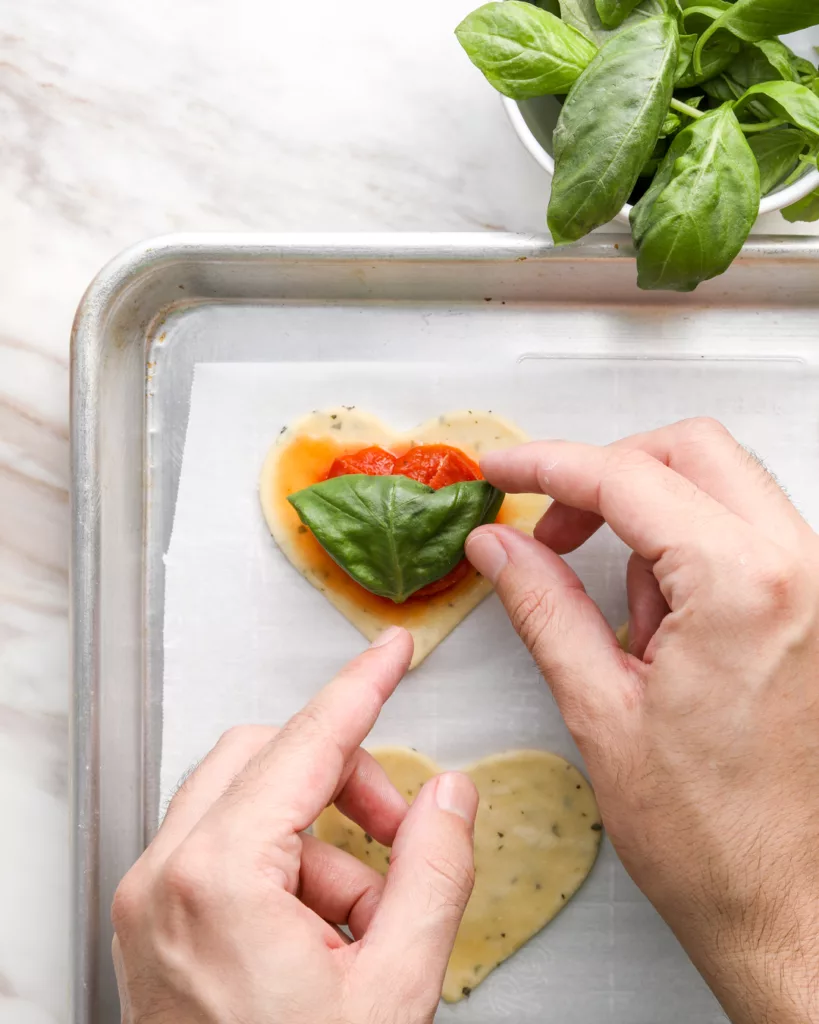
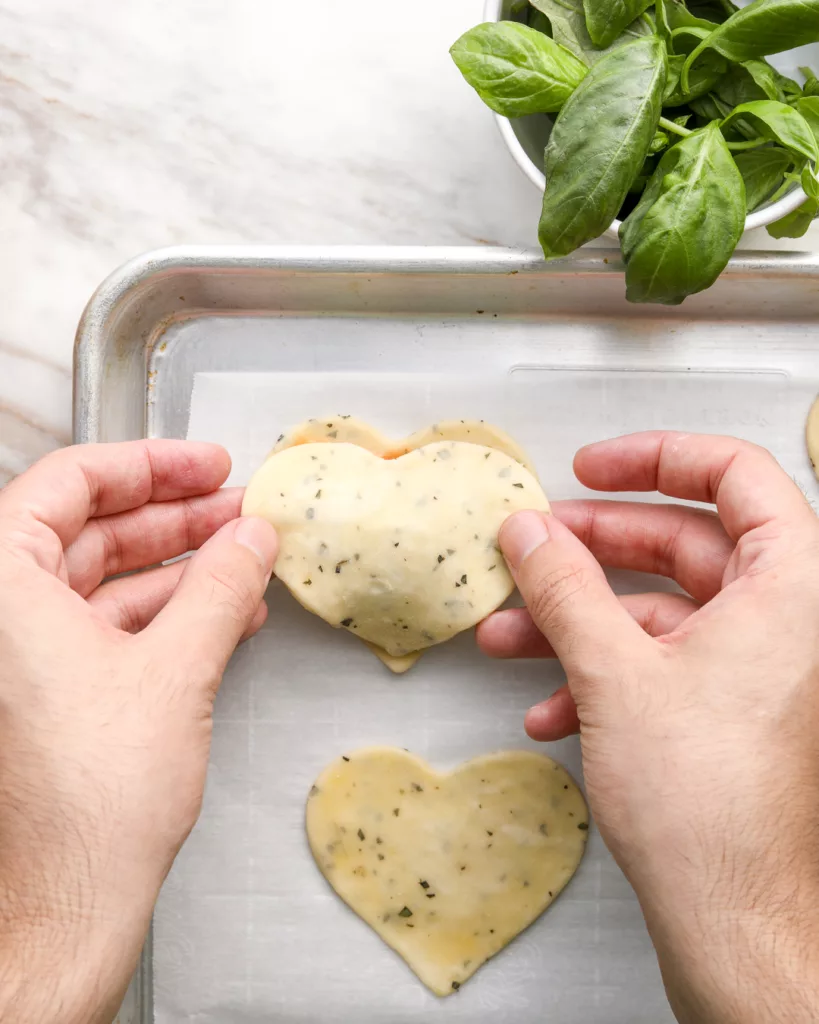
The egg wash is what adheres the top crust to the bottom crust, along with the crimping, and prevents the filling from spewing out (though that isn’t always possible to avoid.)
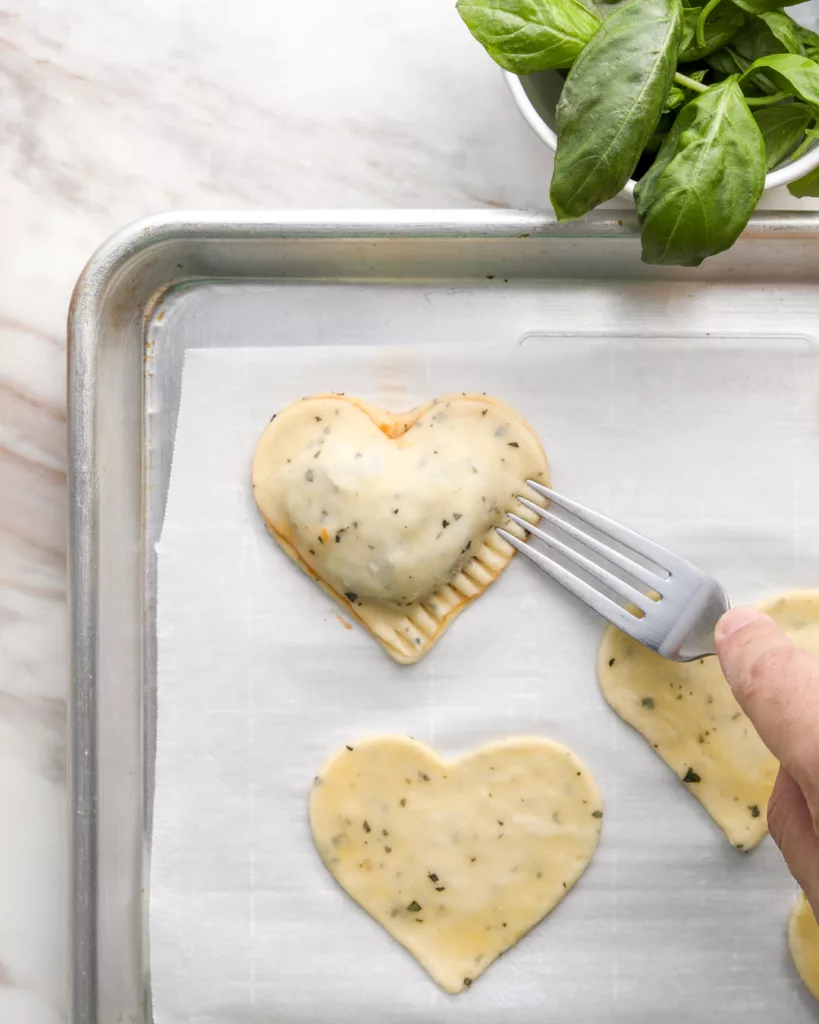
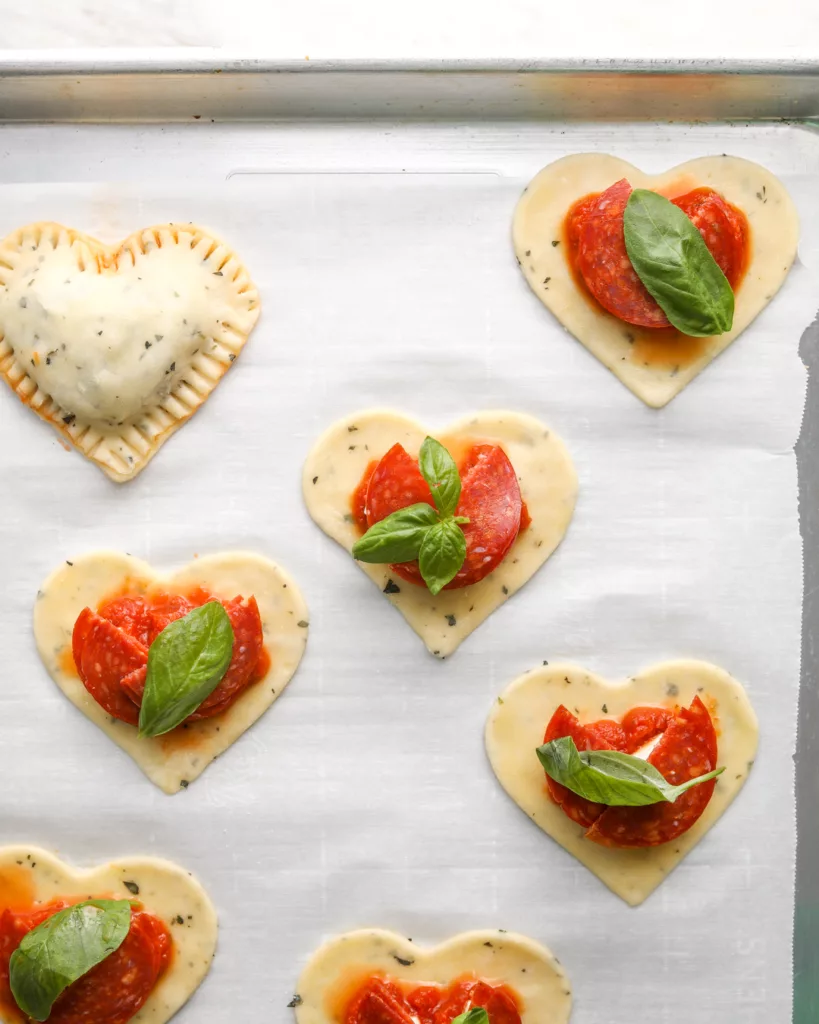
Once the top crusts are on (you might need to stretch them out a bit in your hands to get them to lay over all the fillings) seal the two crusts and crimp them with a fork. Brush them with egg wash, then place them in the fridge or freezer until they are firm. With a paring knife, cut two small vents on the top of each pie, brush again with egg wash, and sprinkle with shredded or grated parmesan cheese, if you want.
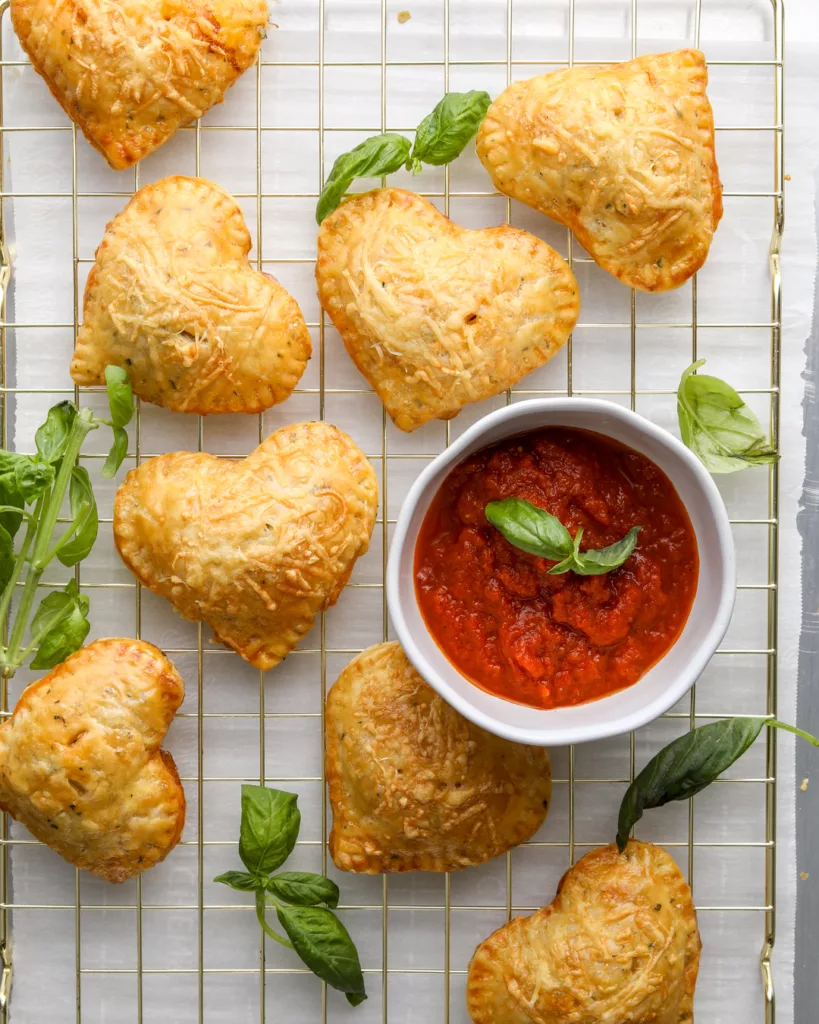
I like to use the leftover pizza sauce (since there will be a lot leftover from the can) as a dipping sauce. You could also use pesto or ranch dressing if you’re freaky.
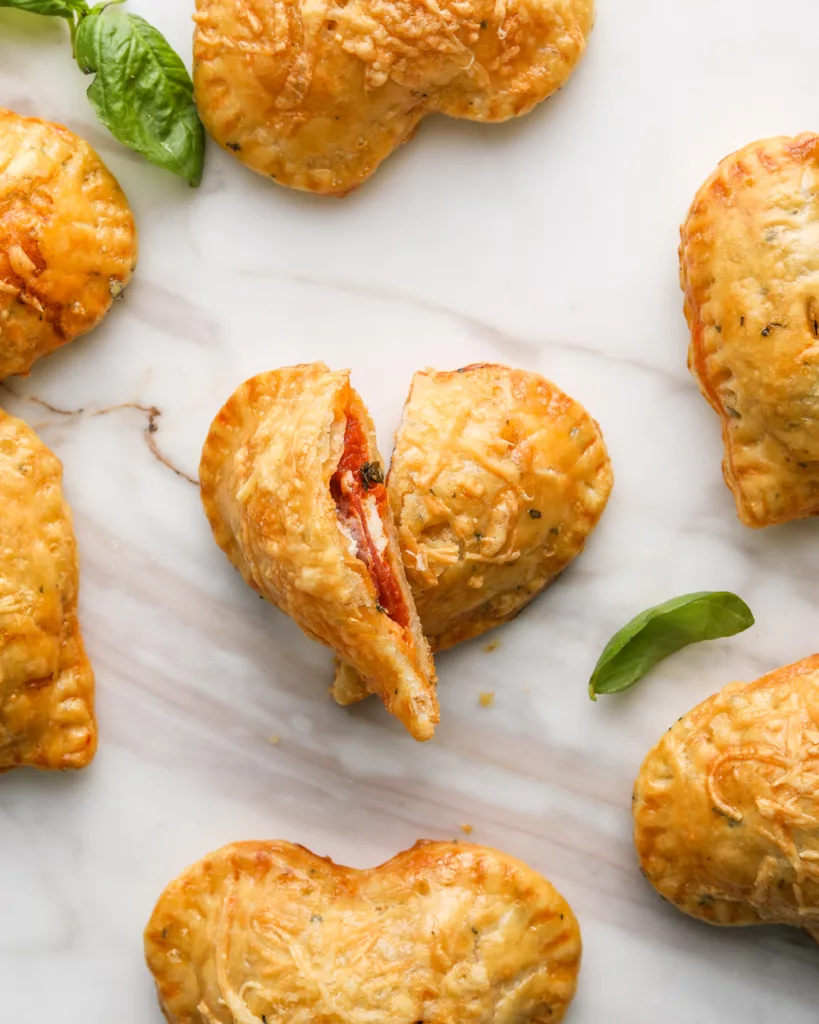
Did you make this recipe? I want to see! Tag me @easygayoven on TikTok and Instagram!

Pocket Pizza Pies
Ingredients
- 10 tablespoons cold, unsalted butter cut into 1/2-inch cubes (141 grams)
- 1 1/3 cups all-purpose flour (173 grams)
- ¼ cup cup ice-cold water (56 grams)
- 1/2 teaspoon kosher salt
- 1 teaspoon finely chopped fresh oregano and/or rosemary
- 1 14-ounce can pizza sauce
- 3 ounces mozzarella cheese shredded or cut into small pieces
- 20 slices pepperoni, from a 4oz. bag cut in half
- 12 leaves fresh basil thinly sliced
- parmesan cheese, for sprinkling optional
- 1 egg beaten
Instructions
- In a food processor, pulse the flour, salt and oregano together.
- Dot the butter pieces evenly over the flour, then pulse several times until the butter pieces are about the size of little pebbles.
- Drizzle two tablespoons of water evenly over the mixture, then pulse a few times. Drizzle in one more tablespoon of water and pulse just until the dough starts to clump together. (If it looks too dry, repeat with another tablespoon of water.)
- Dump the dough out onto a lightly floured work surface and shape it into a flat disc. Wrap in plastic wrap and chill in the fridge for about an hour.
- Once the dough has chilled, flour your work surface (or use a silicone mat or parchment paper) and roll out your dough until it’s about ⅛-inch thick. Using a 2-inch or 1.5-inch cookie cutter (depending on how many you want) cut out as many tops and bottoms as you can.
- Place the cutouts on a parchment-lined baking sheet, cover and chill them for just a few minutes to firm up.
- On half of the cutouts, use your beaten egg to paint on a border. These are your bottom crusts.
- Assemble the pie pockets in this order: bottom crust, a teaspoon of pizza sauce, 3 pieces of mozzarella (or about a pinch-full if shredded), 4 pepperoni halves, then a pinch-full of basil strips. (For smaller pies, use a half-teapoon pizza sauce, 2 pieces of mozzarella and 3 pepperoni halves.)
- Stretch out the top crust just a little bit and place on top to seal off all the ingredients. Use a fork to crimp the edges.
- Brush on the egg wash over each pocket, then place them in the freezer for 10 minutes.
- Preheat the oven to 375°F.
- With a small knife, poke two vents in each pocket, then brush with egg wash a second time. Sprinkle with parmesan cheese, if desired.
- Bake the pizza pie pockets for 16-18 minutes. Serve with leftover pizza sauce as a dip!
Video
Notes
- I recommend using high quality mozzarella cheese. Look for ones that come in a ball — these tend to melt better. However, shredded mozzarella from the bag will also work.
- I used a more specialty pizza sauce in one of the earlier tests for this recipe and, while the flavor was slightly better, it was more watery which made the pies difficult to fill and crimp. This is why I recommend using a thicker, store-brand pizza sauce. Sorry pizza purists!
Let's keep in touch...
Newsletter subscribers receive early access to new recipes, my best recipe, culture and product recommendations, and updates on all things easygayoven.
(Plus, paid members receive a bonus, exclusive recipe every month!)
For even more, follow along on Instagram and TikTok @easygayoven and at easygayoven.substack.com
© easygayoven 2022 | design by tonic
+ Show / Hide Comments
Share to: