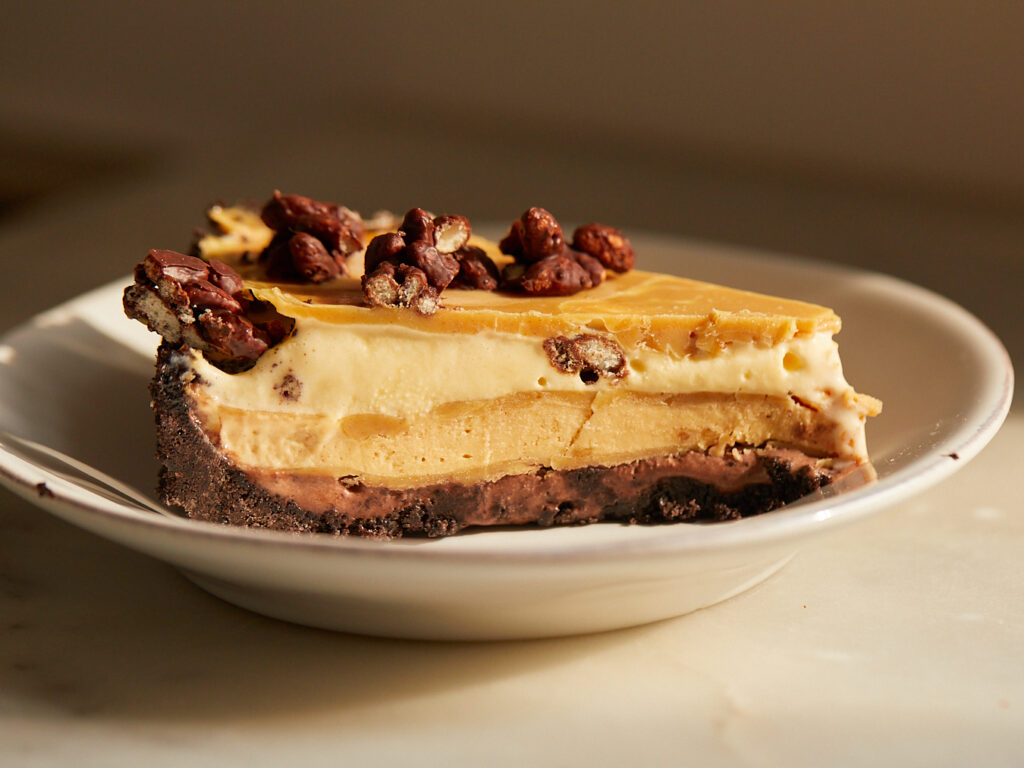
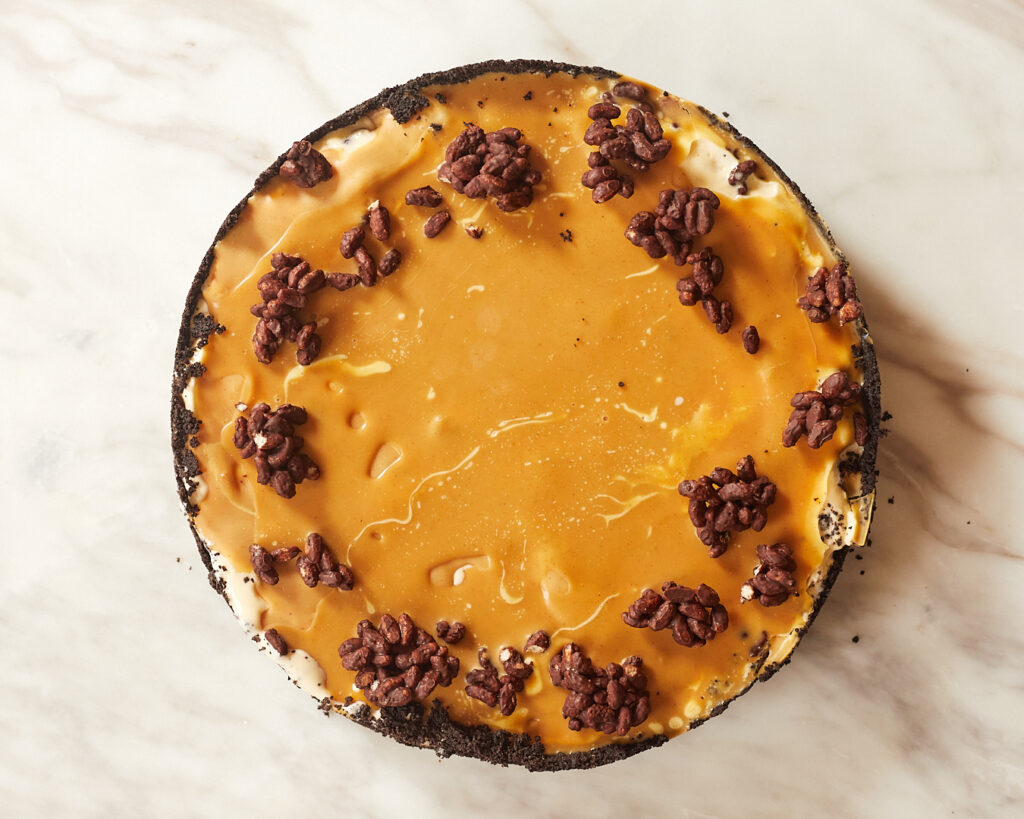
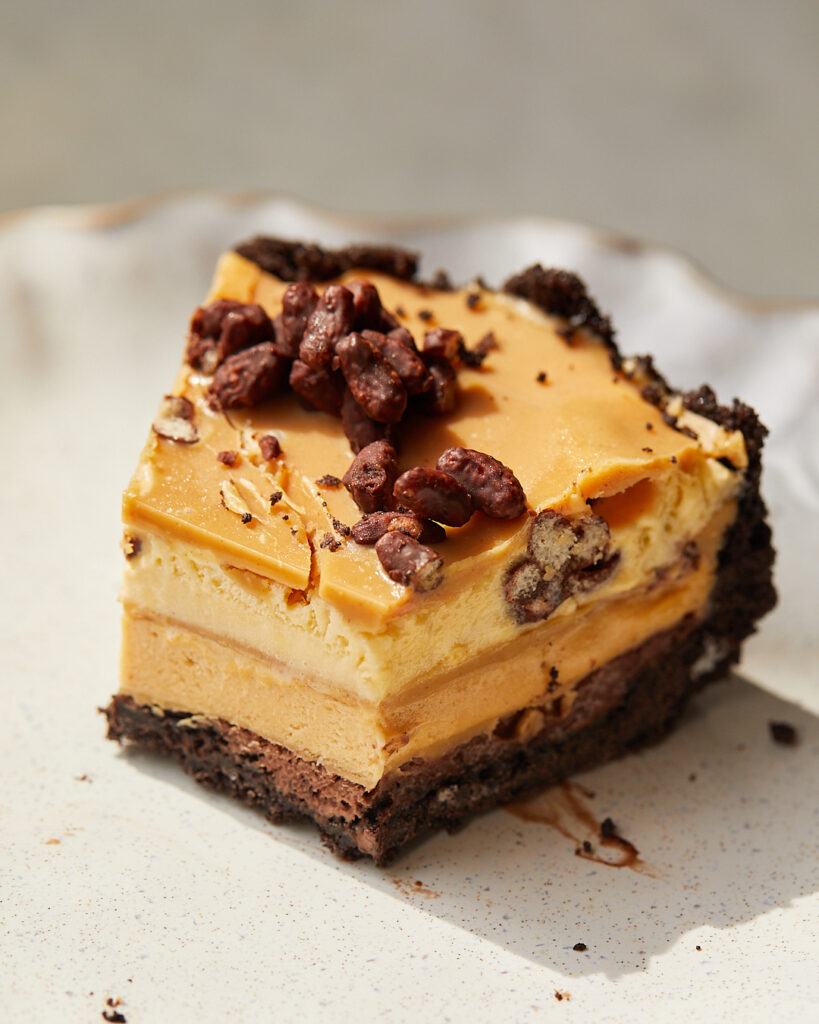
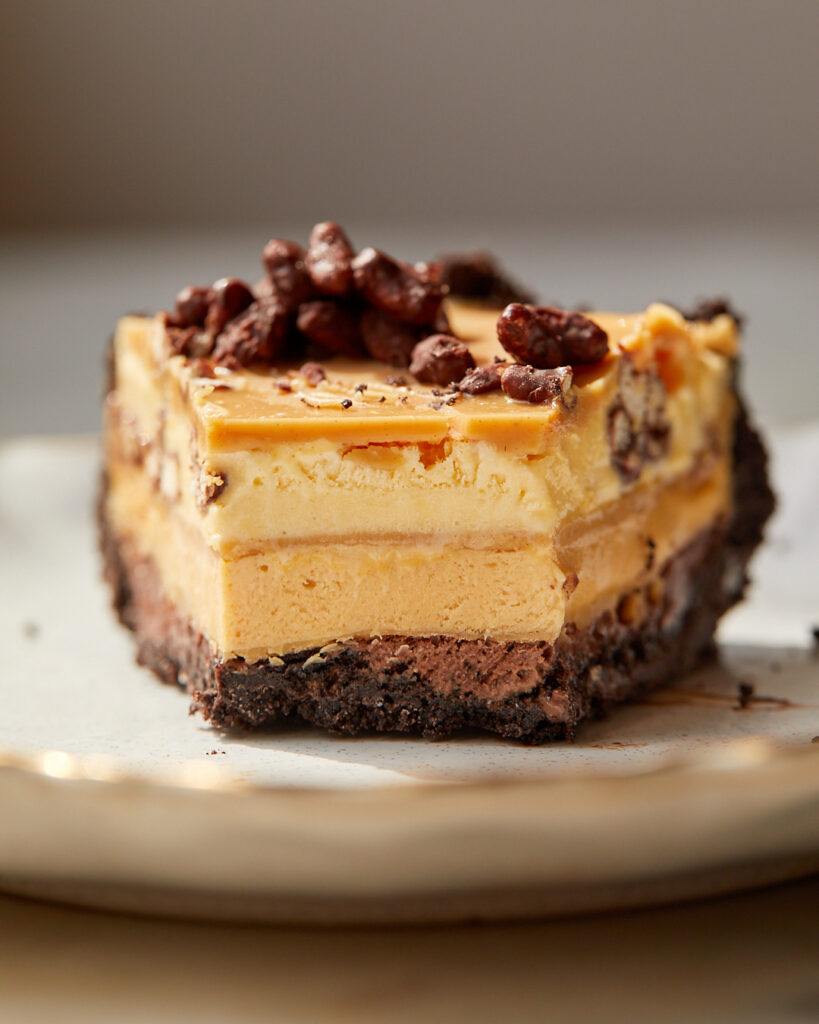
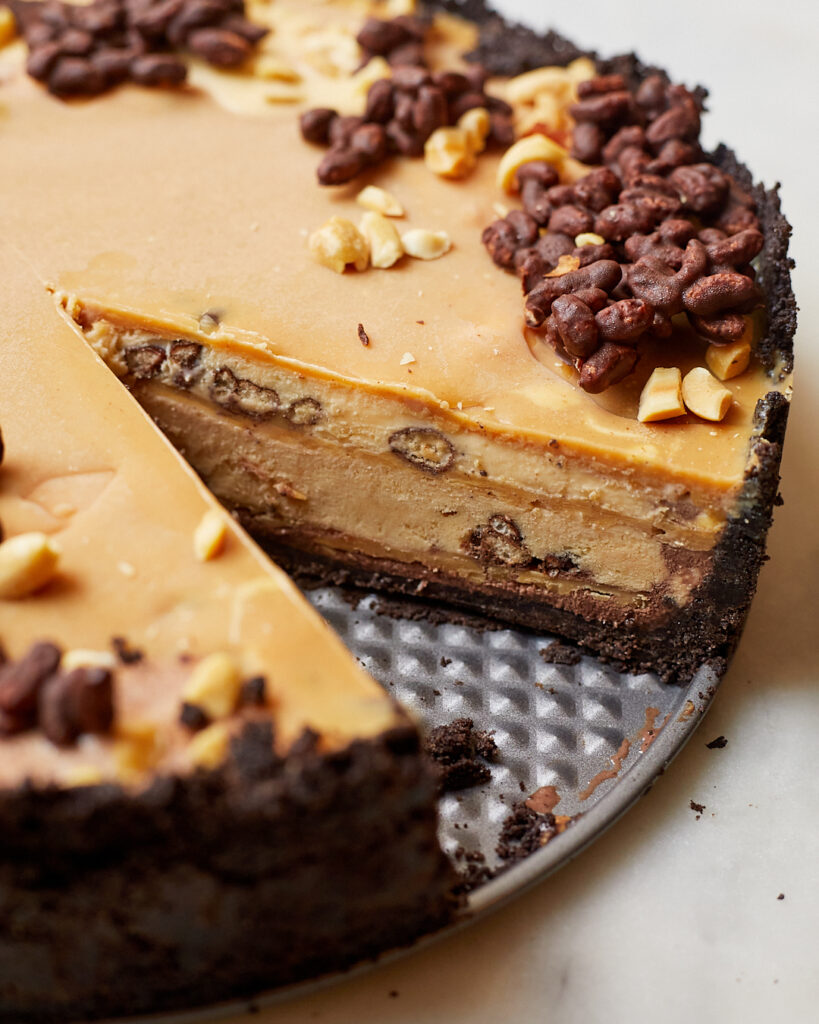
Before summer is out I wanted to put out a showstopper ice cream dessert — not that you couldn’t have this all year-round. In this peanut butter ice cream pie, only the good stuff: chocolate, peanut butter, Oreos, ice cream. It’s like whatever the town looked like before the Dairy Queen Blizzard came in and swirled it all up. We have three layers of ice cream, chocolate on the bottom, vanilla on the top, and peanut butter in the middle (to make it, you simply mix the peanut with vanilla ice cream — or you could buy it if you want.)
Separating each flavor is a sheet of peanut butter “magic shell,” which goes on smooth and liquid-y and almost instantly transforms into a hard, chocolate-like layer. Encasing all of this is, what else, an Oreo cookie, no-bake, press-in crust. The crispy topping made puffed rice cereal coated in chocolate is optional (because there’s already a lot going on here) and the result is a symphony of textures: creamy, crispy, snappy, sandy.
What is peanut butter magic shell?
If you ever had chocolate magic shell ice cream topping as a kid, you’ll be familiar. It’s just a mixture of melted chocolate, or in this case peanut butter, and an oil like sunflower or coconut oil that are high in saturated fat. We’re using coconut oil, which is solid at room temperature (when it’s not one million degrees outside) and when mixed with the peanut butter and poured over freezing cold ice cream, it seizes up and becomes hard enough to crack.
Since chocolate sets completely solid, chocolate magic shell recipes can use less oil. With peanut butter, we need a higher ratio of oil to achieve the snap of the magic shell — but if you don’t care as much about that, you can feel free to reduce the amount of coconut oil by 25-50 percent. You can also use unrefined coconut oil in a pinch but that has a more distinct coconut flavor.
What peanut butter should I use for peanut butter magic shell?
I tested this recipe with Trader Joe’s creamy peanut butter spread and classic creamy Jif. Both worked great but I really loved the taste of Trader Joe’s. I have not tested how this would work with “natural” peanut butters that separate and have that layer of oil on top, so I would stick to peanut butter spreads.
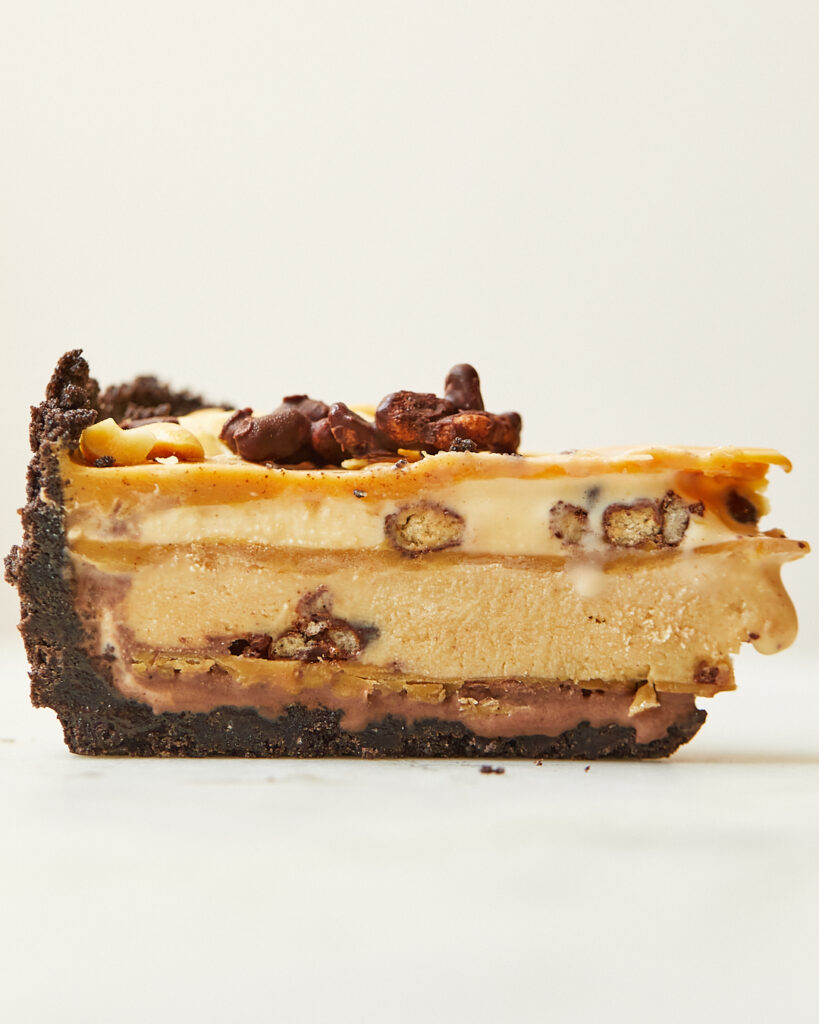
What Ice Cream Should I Use for Peanut Butter Ice Cream Pie?
Since you should really only be buying about two pints of ice cream for this (one chocolate, one vanilla) it might be worth it to splurge on the good stuff. I used Whole Foods branded ice cream and it was very fluffy. This meant that more air was churned into it, which made it easier to spread. But this also made it melt pretty quickly. Ice creams that are more premium typically have less air churned into them and contain a higher butterfat content, which both mean ice cream that melts slower.
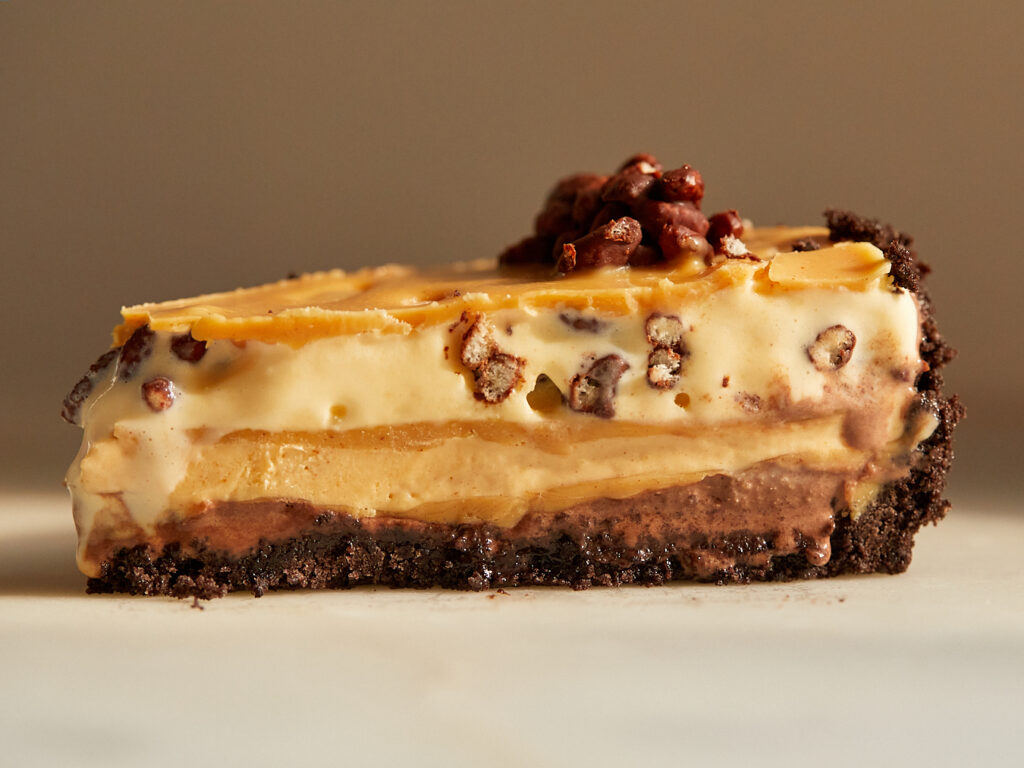
Assembling the Peanut Butter Ice Cream Pie
It’s a tricky balance. You want the ice cream to be pliable enough to spread, but not so warm that it starts to melt. I got a little fast and loose when making both tests of these. I didn’t let the chocolate layer completely firm up in the freezer before adding on more. You can tell because there is definitely some seepage into the layers above. Not the end of the world! But ensuring you freeze the pie for enough time in between layers and for several hours before serving is important for clean cross-sections and less mess.
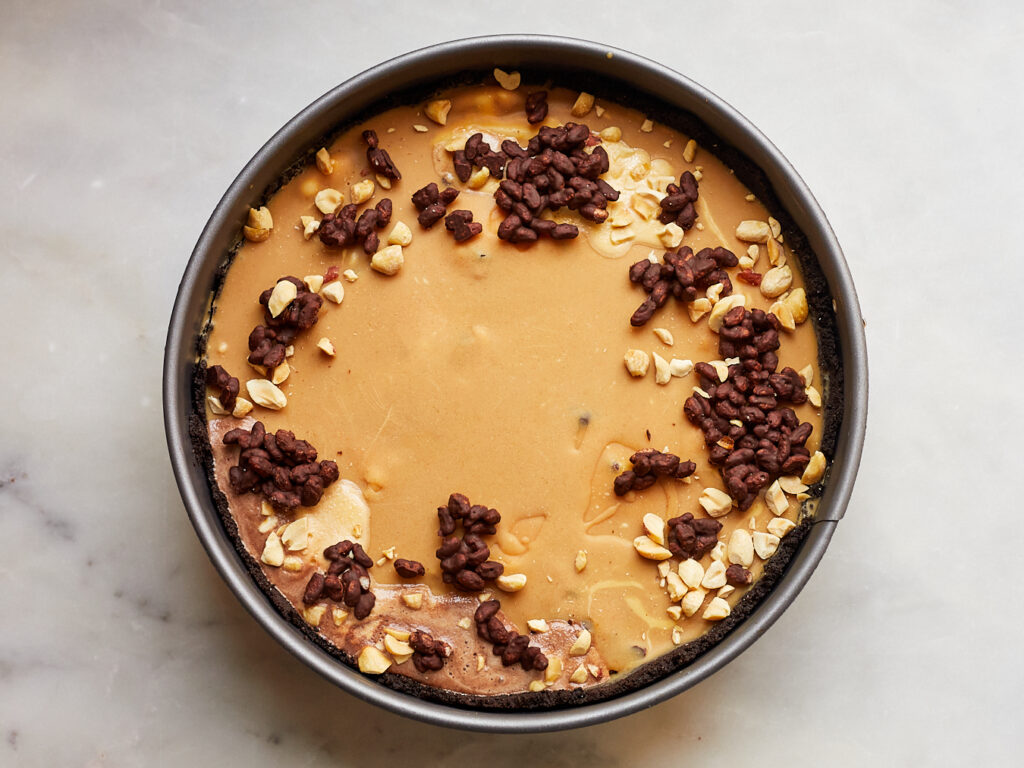
Please make this pie with the AC blasting. Ensure there is plenty of space in the freezer and nothing blocking where the cold air comes in. I recommend making this pie the day before serving. Even with the called-for freeze times, ice cream brand melting times and home freezers are all a little different. To get clean, non-melty slices, a long freeze time helps.
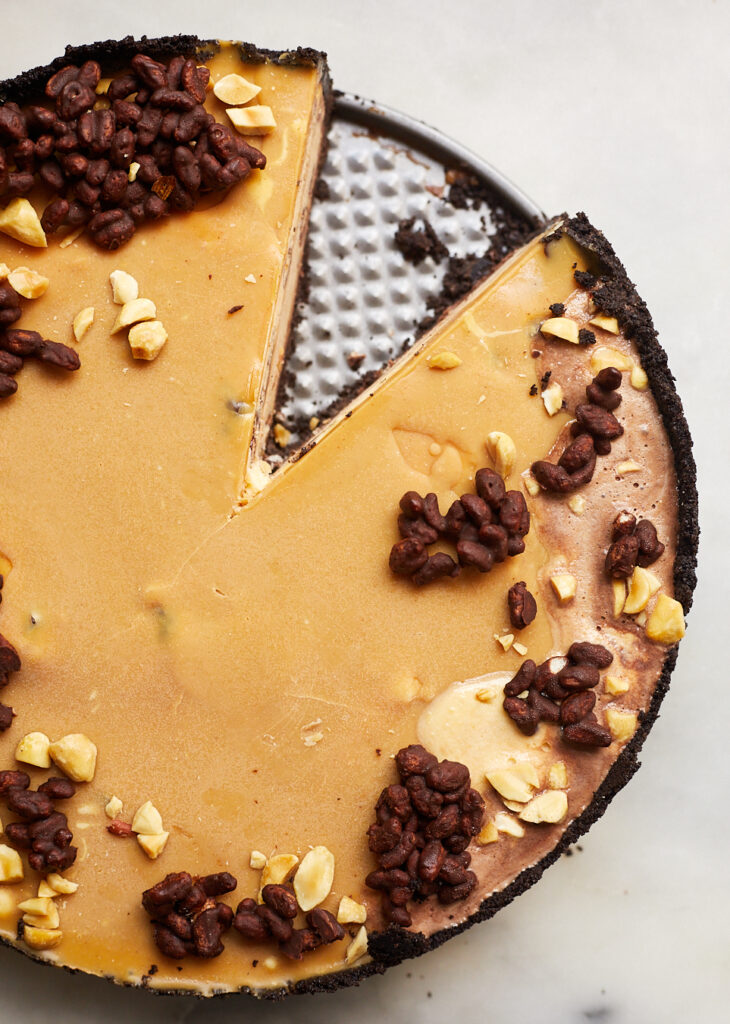
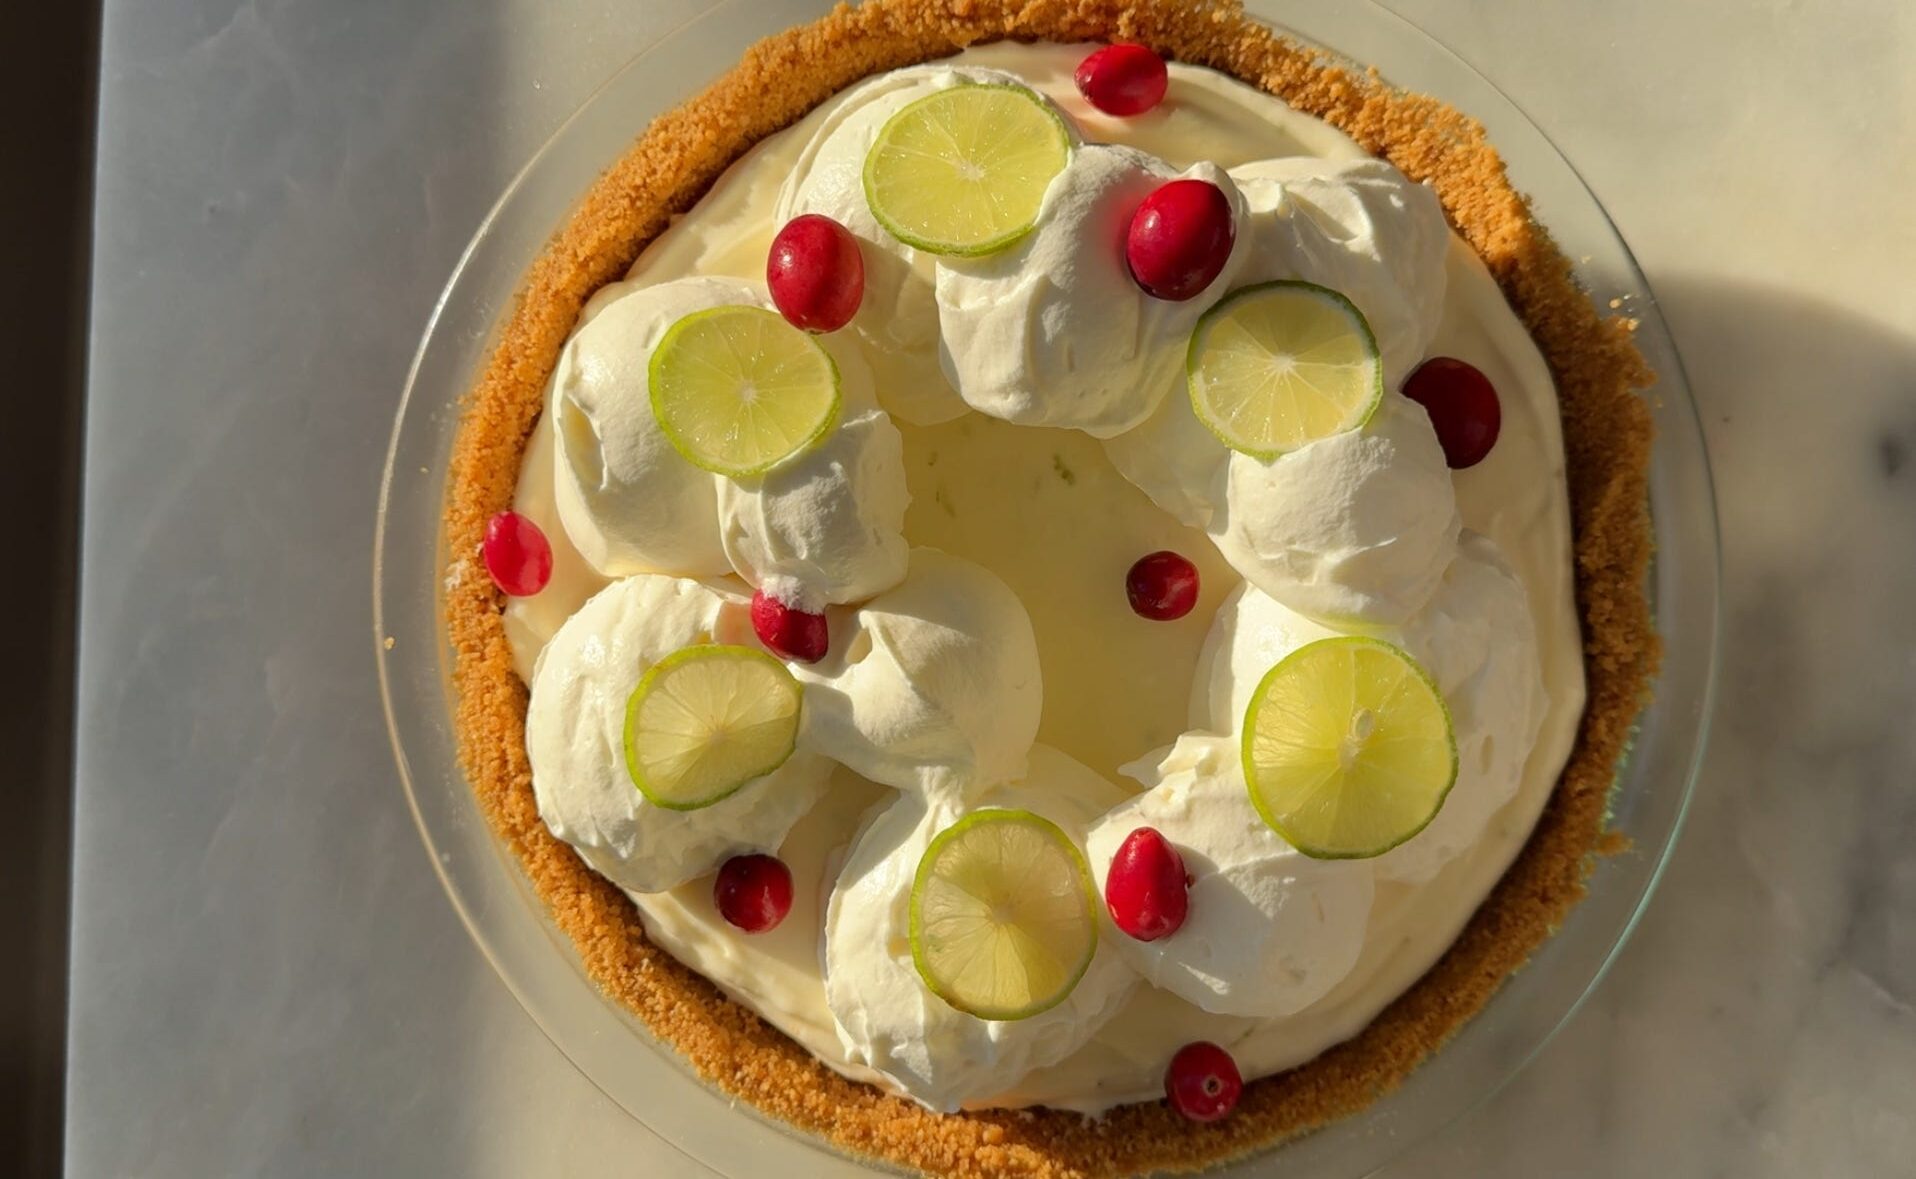
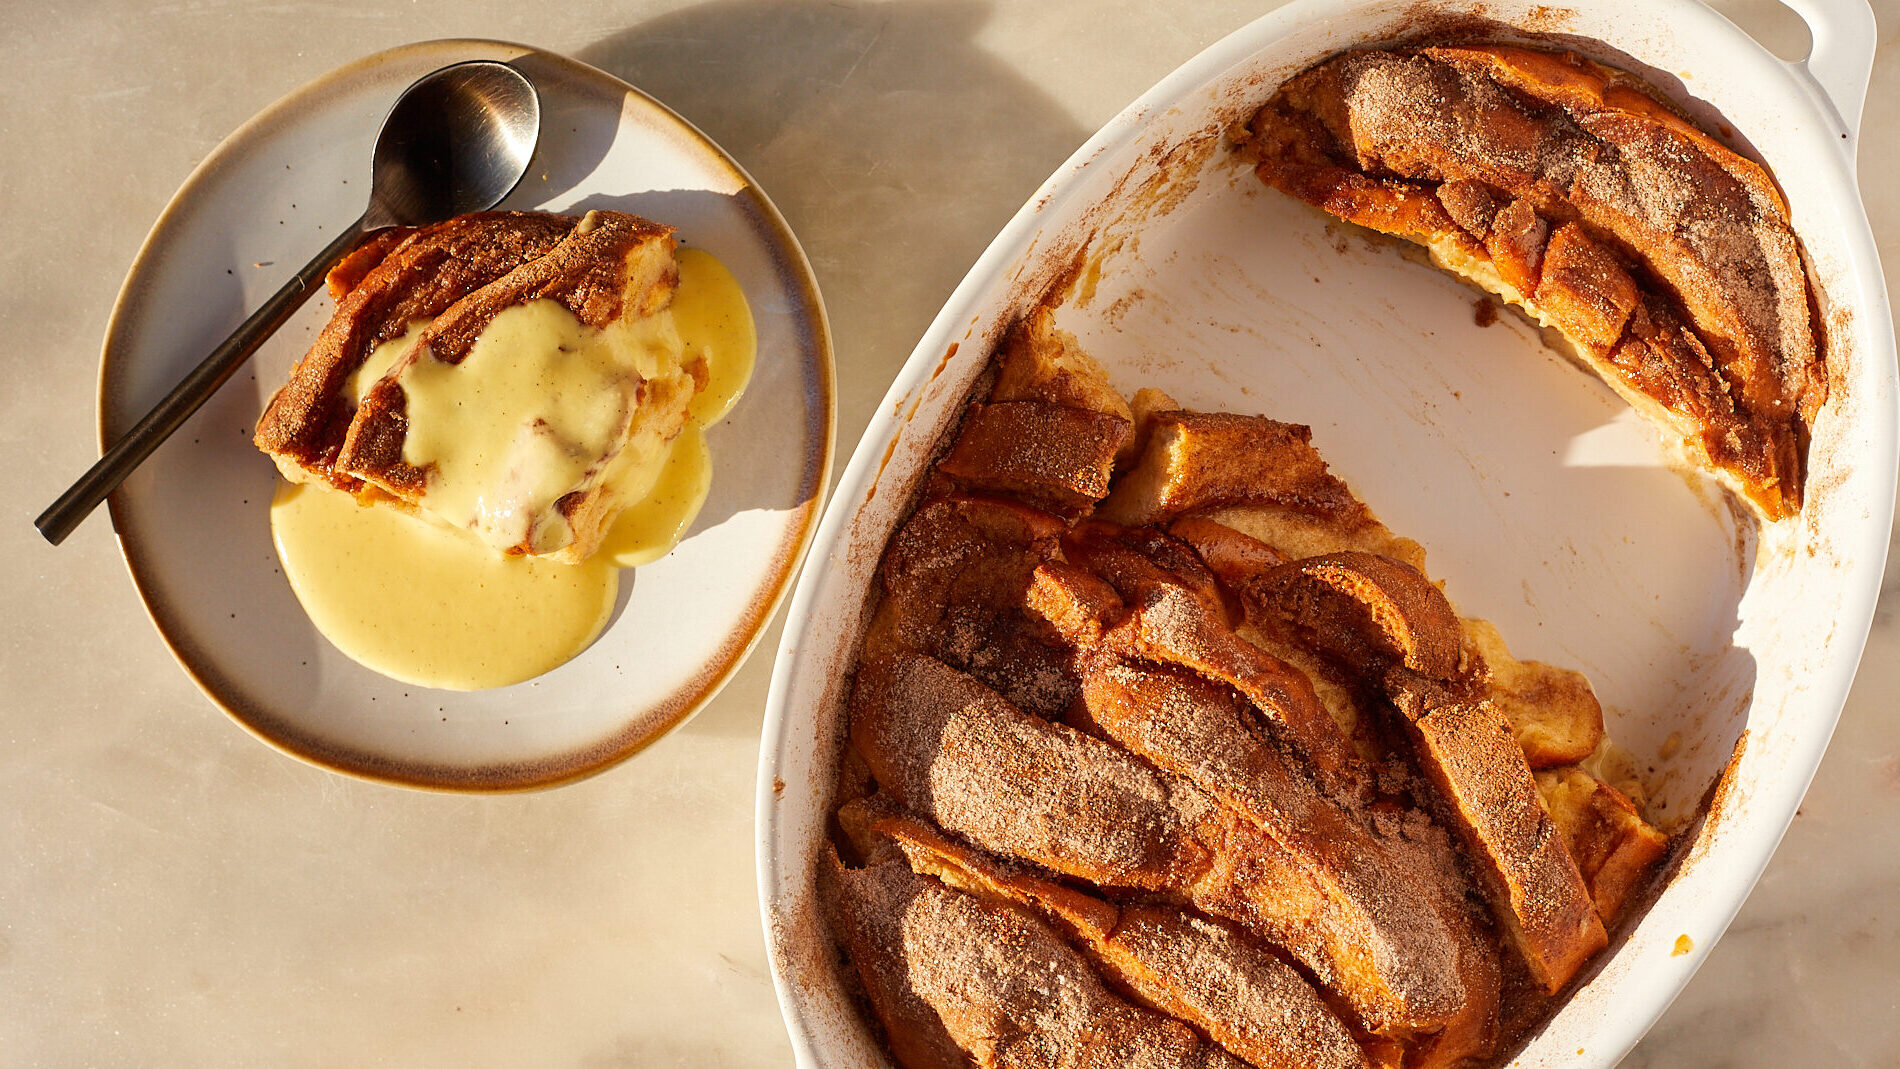
Want more no-bake recipes like this? Try…
Did you make this peanut butter ice cream pie? I want to see! Tag me @easygayoven on Instagram and TikTok.
Peanut Butter Ice Cream Pie
Ingredients
Crust
- 12 ounces Oreo cookies
- 5 tablespoons unsalted butter gently melted (71 grams)
- 1/4 teaspoon salt
Peanut Butter Magic Shell
- 3/4 cup peanut butter spread not natural peanut butter that separates (6 ounces)
- 5 tablespoons refined coconut oil 2.5 ounces
- Ice cream filling
- 1 cup chocolate ice cream
- 2 cups vanilla ice cream one pint
- 1/4 cup peanut butter 60 grams
Crunchy Filling and Topping
- 1 cup puffed rice cereal
- 4 ounces milk or semi sweet chocolate finely chopped
- Chopped peanuts for garnish
Instructions
- In a food processor, blitz the Oreos until they are fine crumbs. Add the salt and melted butter and pulse until the mixture is homogenous and looks like wet sand.
- In a 9-inch springform pan or deep pie dish, spread about half of the crumbs onto the bottom of the pan and tamp down with your hand or the bottom of a glass. Then pack the remaining crumbs onto the sides of the pan. Place in the freezer for 10-15 minutes.
- During this time, make the chocolate-covered cereal. Melt the chocolate in a medium-size bowl over 1 inch of simmering water in a saucepan. Remove from heat and fold in the cereal until each piece is evenly coated in chocolate. Spread out the mixture onto a sheet of wax paper, parchment paper or a silicone mat and transfer to the fridge to set up.
- Allow the chocolate ice cream to sit out at room temperature for just a minute or two until it is pliable enough to scoop and spread, but not melty. With an offset spatula or the back of a spoon, spread an even layer of the ice cream onto the bottom of the cookie crust. If using, press a few pieces of the chocolate covered cereal into the ice cream then immediately return it to the freezer for 30 minutes or as long as it takes to completely firm up.
- About 5 minutes before you’re ready to add the next layer, make the peanut butter magic shell and peanut butter ice cream. Add the coconut oil and peanut butter to a liquid measuring cup, then microwave them for about 15 seconds. Stir together with a fork.
- Remove the vanilla ice cream from the fridge, measure out one cup of it into mixing bowl and return the rest to the freezer. Add the 1/4 cup peanut butter and using a hand mixer or a fork, combine the two.
- Working quickly, remove the pie from the freezer, drizzle about 1/3 of the peanut butter magic shell over the chocolate ice cream. It will set in a few seconds. Once it sets, spread the peanut butter ice cream in an even layer, press in a few more pieces of the chocolate-covered cereal, and immediately return to the freezer.
- Again, allow the pie to re-freeze for 30 minutes or however long it takes for the ice cream to firm up. About 5 minutes before you’re ready to add the final layer, remove the rest of the vanilla ice cream from the fridge (unless it’s still pliable; in which case leave it in.)
- Drizzle another third of the magic shell onto the peanut butter ice cream, allow it to set completely, then spread the remaining vanilla on top. Once again, press a few pieces of the chocolate-covered cereal into the ice cream and return to the freezer. Allow to freeze for another 30 minutes or however long it takes for the ice cream to firm up.
- Pour the remaining magic shell onto the top of the pie and tilt the tin around so it’s as even as possible. Scatter pieces of chocolate-covered cereal and chopped peanuts around the rim and return to the freezer for at least 4 hours but preferably overnight.
- To cut and serve the pie: For each slice, I like to carefully heat up a sharp knife over a stove burner for just a few seconds. (You can also fill a tall vessel with hot water and stick the blade in it before wiping off the water with a clean towel.) This helps with breaking through the top layer and the cold ice cream cleanly and easily.
Let's keep in touch...
Newsletter subscribers receive early access to new recipes, my best recipe, culture and product recommendations, and updates on all things easygayoven.
(Plus, paid members receive a bonus, exclusive recipe every month!)
For even more, follow along on Instagram and TikTok @easygayoven and at easygayoven.substack.com
© easygayoven 2022 | design by tonic
+ Show / Hide Comments
Share to: