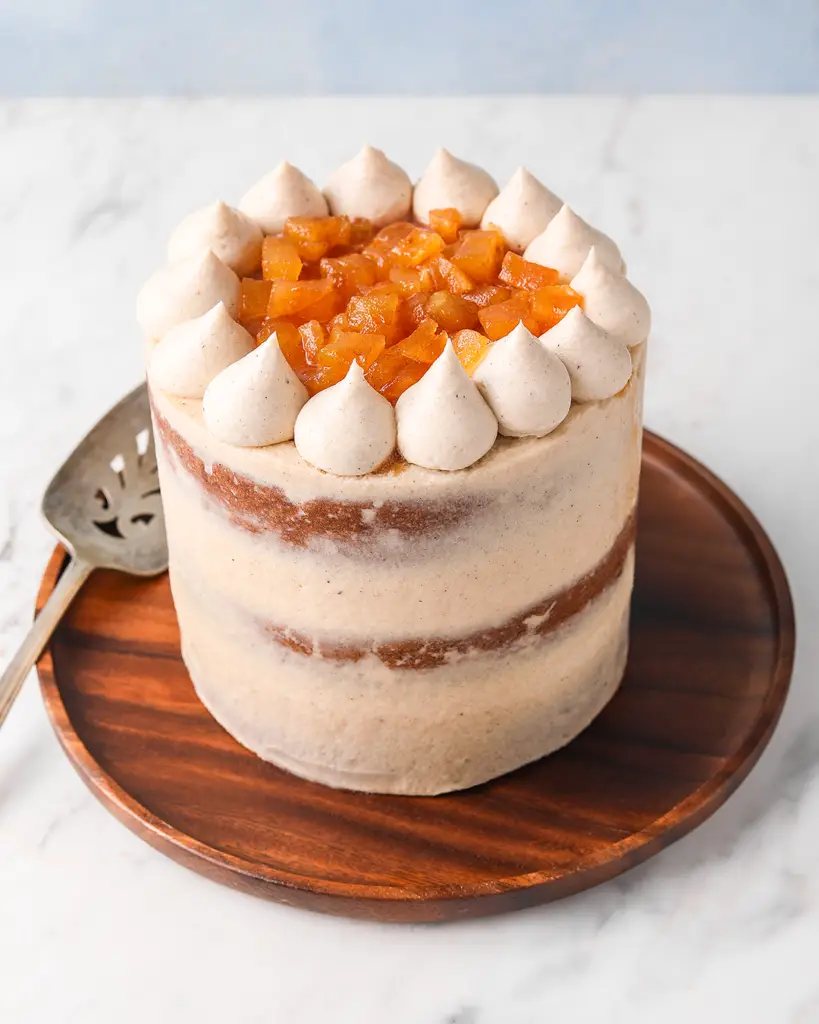
It’s amazing what just one round of recipe development can do. On my first swing at this apple spice cake, I was under a slight deadline: my hungry family waiting patiently to start dinner. So, I was improvising a little bit. I wasn’t even planning on developing an apple cake until I saw some beauties at the farmer’s market and knew immediately what I had to do. It turned out… okay, but I knew that it could be even better with a few tweaks.
Originally, we had a spice cake recipe with reduced fat milk, resulting in a crumb that was a little dry, and chunks of apples inside. I didn’t like the texture of the chunks, plus with the apple filling that was sandwiched between the layers, it was just too many textures going on. Said apple filling was so sour because I used lemons to make the syrup. On top of all that, the American buttercream was too sweet and stark in color for such a warm, seasonal cake like this.
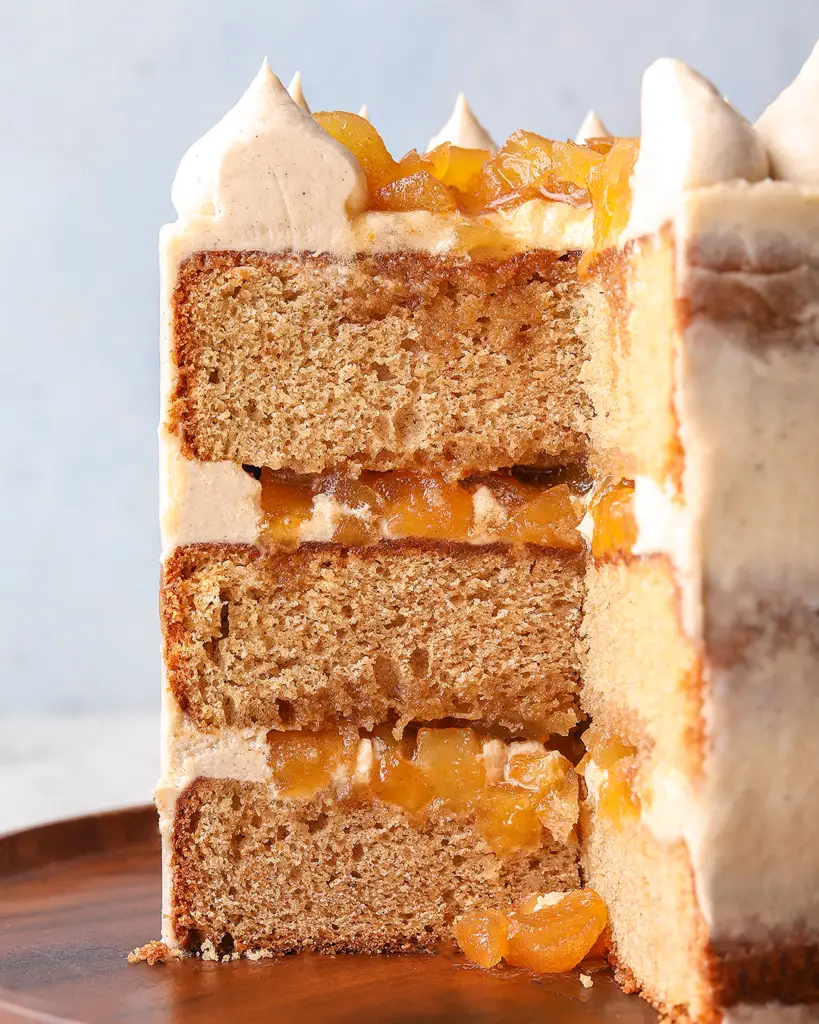
So I changed it. Out went the reduced fat milk, in came sour cream and whole milk. Gone were the cake’s apple chunks, in came appleSAUCE. Goodbye lemon, and hello to the milder orange. And lastly, a half-pound of cream cheese and even more spices added to the buttercream.
And here’s what we’re looking at now: A delightfully spongey, spice-y crumb with just a hint of apple flavor. A not-too-sweet, cinnamon-laden compote that would be at home atop any bowl of oatmeal. And a super smooth, decadent cream cheese frosting that cuts through the saccharine of typical American buttercreams.
How to fill and frost apple spice cake with cream cheese frosting
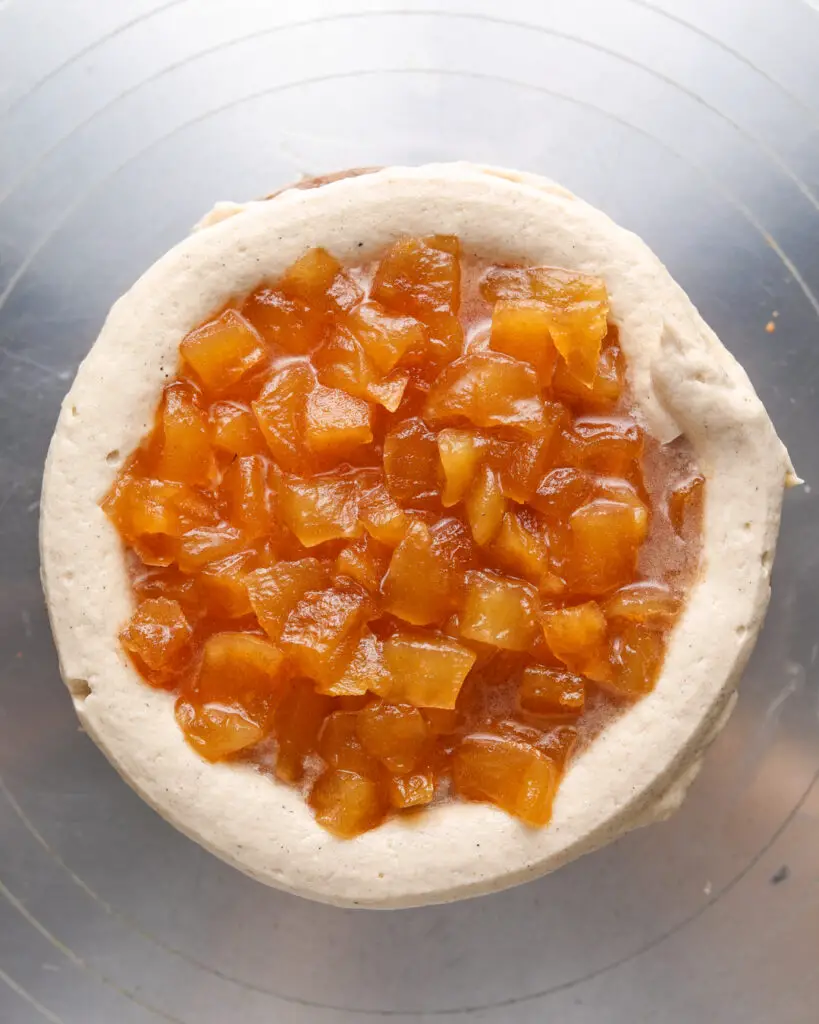
The trick to a cake like this is keeping the filling encased between the layers with the buttercream. Create a “dam” with your piping bag by piping a circle of buttercream around the rim of the cake. At this point, you can even meld the inside of the dam to the top of the cake layer for a better seal by brushing just the very interior of the circle down and toward the center of the cake. If you flub this up, you will have compote seeping (SEEPING) out of your final product, so pay attention to that section of directions below.
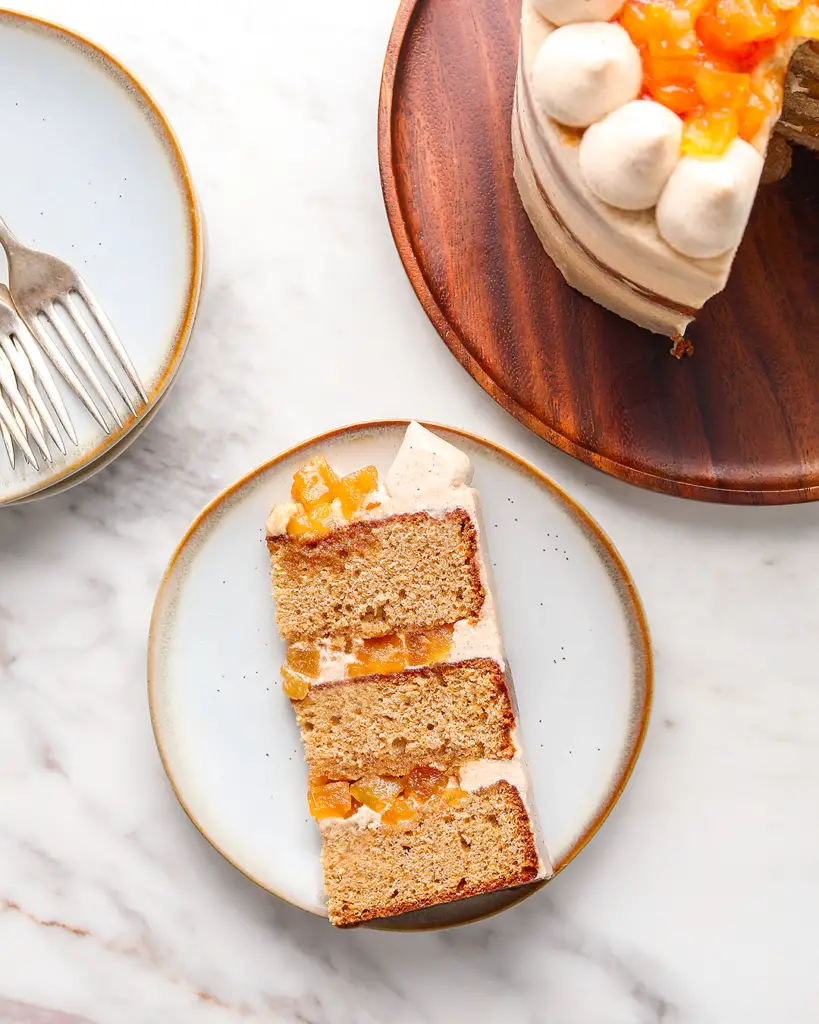
Did you make this apple spice cake? Amazing! Tag @easygayoven on Instagram and TikTok to show off your masterpiece. (And, if you can, leave a review below!)
Apple Spice Cake with Cream Cheese Buttercream
Ingredients
Cake layers
- 1 ¾ cup granulated sugar (350 grams)
- 3/4 cup unsalted butter at room temperature (170 grams)
- 3 large eggs at room temperature
- 2 ¾ cup all-purpose flour (347 grams)
- 1 teaspoon baking powder
- 1/2 teaspoon baking soda
- 1 teaspoon kosher salt
- 1/4 cup whole milk (60 milliliters)
- 1/2 cup unsweetened applesauce (123 grams)
- ¼ cup sour cream (2 ounces)
- 1 teaspoon vanilla extract
- 1 teaspoon ground cinnamon
- 1/2 teaspoon ground nutmeg
- 1/4 teaspoon ground cloves
- 1/4 teaspoon ground all spice
Cream cheese frosting
- 1 ½ cups unsalted butter at room temperature (3 sticks) (339 grams)
- 8 ounces cream cheese at room temperature
- 2 ¼ cups powdered sugar (281 grams)
- 1 teaspoon vanilla extract
- 1 teaspoon ground cinnamon
- 1/4 teaspoon ground cardamom
- 1/2 teaspoon ground cloves
- 1/2 teaspoon ground all spice
- kosher salt
Apple compote
- 3 baking apples like Granny Smith, gala, or pink lady
- 3/4 cup sugar (150 grams)
- 2 teaspoons corn starch
- 1 teaspoon ground cinnamon
- kosher salt
- 3/4 cup freshly-squeezed orange juice (177 milliliters)
- Zest of one orange
Instructions
For the apple filling
- Peel, core and dice your apples into half-inch pieces.
- In a medium saucepan, combine apples, sugar, corn starch, cinnamon, and a pinch of salt. Add in the orange juice and zest and stir until the mixture is evenly hydrated.
- Cook the mixture over medium heat until the liquid has thickened and coats the apples, stirring occasionally, for about 15 minutes. You’ll know it’s the right texture if you scrape the bottom of the pan and the filling holds its shape.
- Set aside to cool.
For the cake layers
- Preheat oven to 350° F. Prepare three 6-inch cake pans by greasing and flouring the insides. If your pans tend to stick, cut out circles of parchment paper to line the bottoms.
- In a stand mixer with a beater attachment, cream together the butter and sugar on medium until light in color and fluffy, about three minutes.
- Add one egg at a time, mixing until fully incorporated after each addition.
- In a medium-sized bowl, whisk together the flour, baking powder, baking soda, spices, and salt.
- In a measuring cup, mix together the milk, sour cream, applesauce, and vanilla.
- Set mixer to low. Add one-third of the flour mixture into the egg mixture. After it fully incorporates, pour in one-third of the liquid mixture. After the liquid fully incorporates, repeat the process until everything has been combined, ensuring to end with the flour.
- Do not over-mix. Turn the mixer off the moment the last bits of flour disappear.
- Remove bowl from mixer and run a rubber spatula around the bottom to make sure everything has been incorporated.
- Divide batter into prepared pans. If you have a digital scale, weigh each pan to confirm you are doling out evenly.
- Bake the cakes for about 30 minutes on the center rack. A cake tester should come out clean from the center and the cake tops should bounce back when lightly pressed.
- Let the cakes cool in their pans for a few minutes before running a knife around the edges and carefully turning out onto a cooling rack.
For the buttercream
- In a stand mixer fitted with the paddle attachment, cream the butter until light in color and fluffy.
- Add the cream cheese and vanilla and beat until combined. (It’s very important that your cream cheese and butter are both at room temperature otherwise they might not totally combine and you’ll get little cream cheese pieces in your buttercream.)
- Scrape the bowl, then dump in the powdered sugar, all the spices, and a pinch of salt.
- Beat the mixture at medium speed until it has all come together. Do not over-mix or the cream cheese will split.
Assembly
- Once the cakes have cooled completely, level them with a long serrated knife so the tops are flat.
- Fill a piping bag with about 2 cups of buttercream. Snip off the end about an inch from the top
- Place the first layer on your serving plate or cake stand, securing it with a dollop of buttercream.
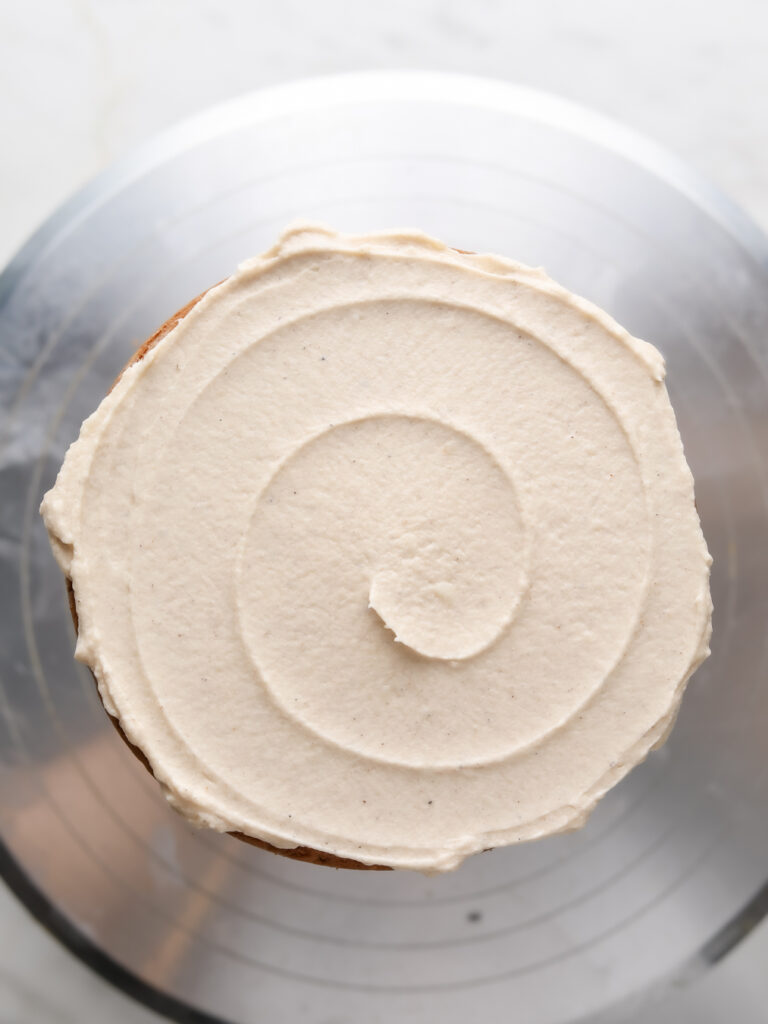
- Using an offset spatula to spread a thin layer of buttercream on top of the cake.
- With the piping bag, draw a ring of buttercream around the very far edge of the layer. This acts as a dam so your filling doesn’t squeeze out of the cake when it’s stacked on.
- Spoon in about one-third to one-half of the filling into the dam.
- Carefully place another layer on top. Repeat.
- Cover the whole cake in a very thin layer of buttercream. This is called the crumb coat, which provides a smooth canvas for your final coating of frosting and traps all of the crumbs so they don’t show up on the finished product.
- Chill the cake in the fridge until the frosting has firmed up, about 30 minutes.
- Apply the final coating of buttercream in whatever design you like. I went for a naked cake so the layers peak out a little bit. I covered the top by piping little peaks around the edge and filling it with leftover apples.
Leave a Reply
Let's keep in touch...
Newsletter subscribers receive early access to new recipes, my best recipe, culture and product recommendations, and updates on all things easygayoven.
(Plus, paid members receive a bonus, exclusive recipe every month!)
For even more, follow along on Instagram and TikTok @easygayoven and at easygayoven.substack.com
© easygayoven 2022 | design by tonic
Tested this cake this weekend for a wedding cake I am making soon and it was amazing! I wanted a fall flavour that wasn’t pumpkin spice but still warm and cozy, this cake fit the bill and the happy couple were very impressed. I did switch out the frosting for a brown butter cream cheese frosting, for no other reason than I love brown butter! The cake is definitely sturdy enough for tiers but I will probably try an apple simple syrup before assembly so that the larger cakes stay moist.
love this! thanks for trying it —Eric