


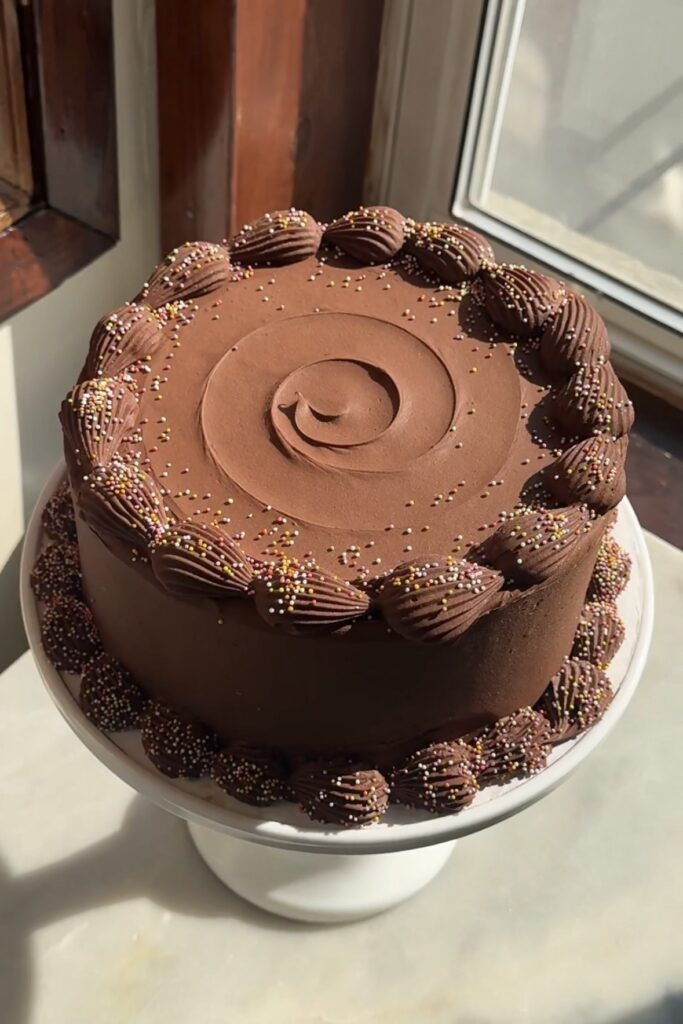
One pain point of being a pro baking recipe developer (I have got to find a better job title) is the fool’s dream of baking for all your loved ones’ important events. Trust me, I want to be able to use my skills to celebrate them and show I care with a birthday cake, especially since I don’t have the best reputation for remembering gifts! I’m blessed with many close friends, but I can’t make one for each of them — I can’t even always do it for my immediate family — and that is stressful. It really is the horrific irony of turning one’s love of baking for friends and family into a career.
I’m flattered to be asked occasionally if I sell my bakes or if I’d make a custom cake for a stranger or brand. I don’t, and I probably wouldn’t (but hey, if you’re a brand or a stranger with deep pockets, shoot your shot!). Truthfully, I don’t know how cake sellers make it work. I admire them and they should all charge more 🙂



Truthfully, the baking of it all usually isn’t even the hardest part; it’s the transport. I once smuggled an intricately decorated birthday cake in a stockpot to the Poconos via car and train, using a sling of plastic wrap to lift it in and out. Now I use cake boxes. But any baker who has ridden with 10 pounds of melting sugar, butter and flour in the back of an Uber will tell you, it’s not for the faint of heart.
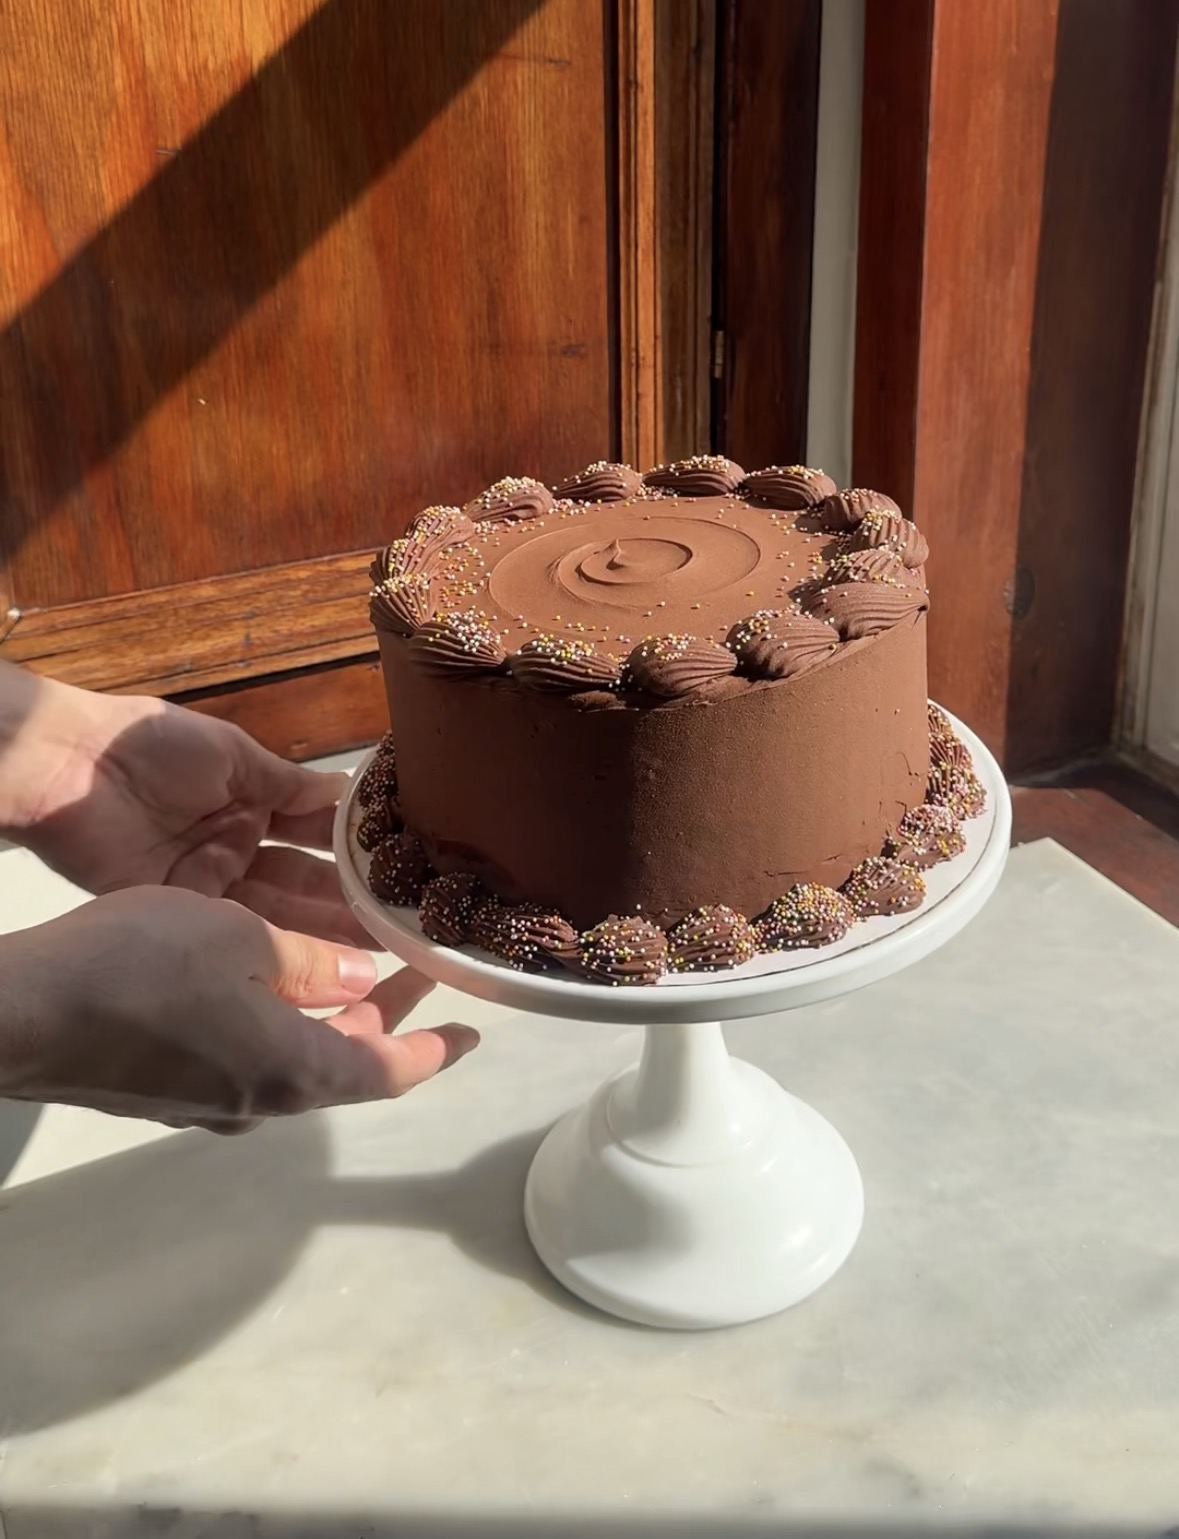
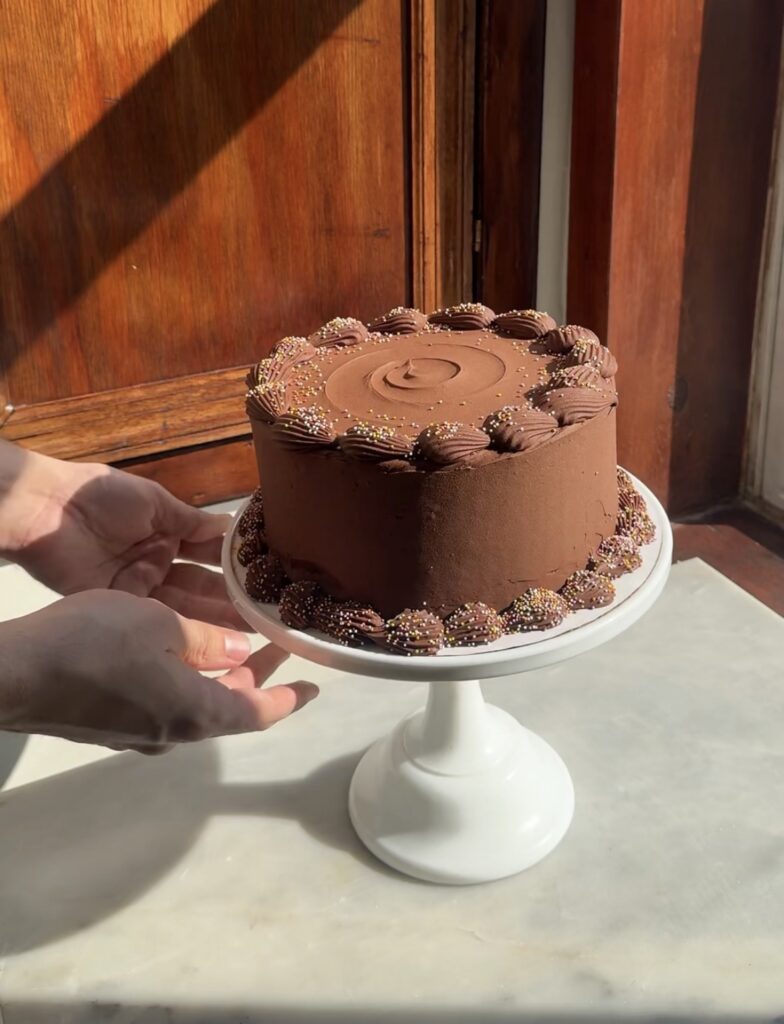
But in April, two of my best judies, turned 30 — big! Their joint party needed a cake, so I volunteered to make one. The tax, apparently? I get to make a video and write a post about it. Keep scrolling for photos from the party.


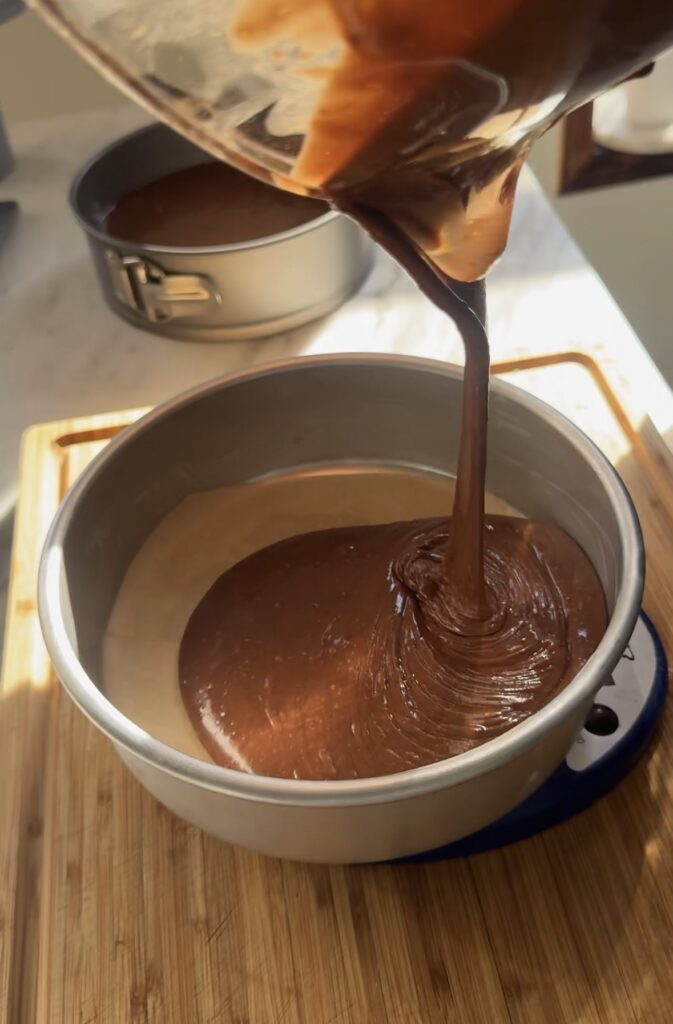
It’s a good idea to split up the work when you’re making a more involved layer cake. For this chocolate birthday cake, I actually made the cake layers a day or two in advance, and wrapped them really well. This is an all-oil cake so it stays super moist and tender even after a day or two in the fridge. That’s because oil is liquid when cold, unlike butter. If this were a vanilla cake, I’d probably want to throw some butter in that fat ratio to make up for some flavor. I also love how the buttermilk and baking soda create a really nice dense crumb that holds up to the chocolate fudge icing.
I feel like there’s a dearth of frostings like the one featured in this chocolate birthday cake. Most chocolate frostings are either buttercream with melted chocolate and or cocoa powder mixed in which are great but not as thick and fudge as I wanted for this cake and/or they’re whipped chocolate ganaches, which can get really chalky and almost too rich for me. I wanted this to be like the fudge icing you get on a Texas sheet cake but that is glossy and buttery but holds its shape better.


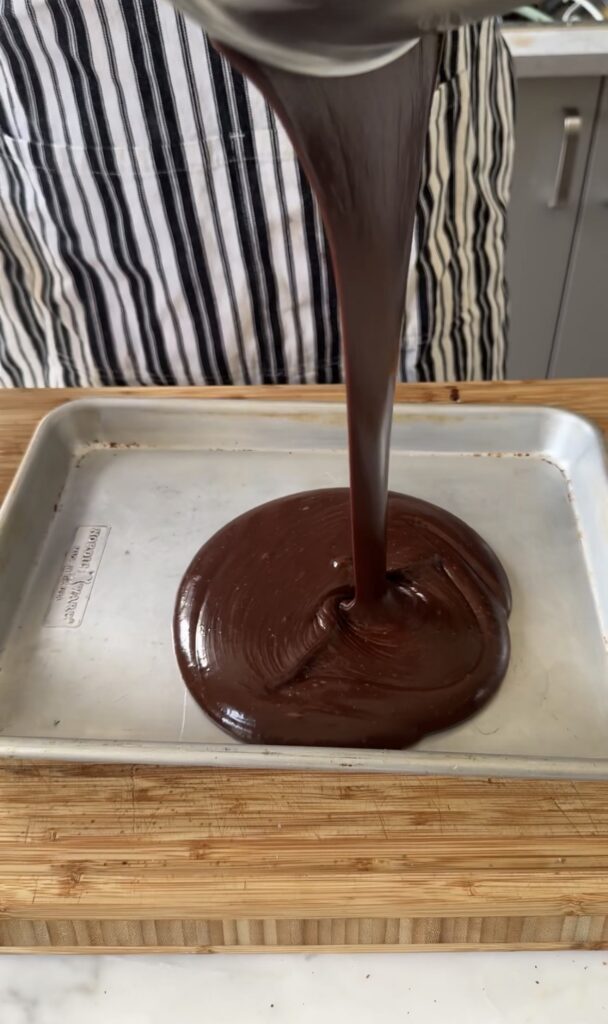
Remember: increasing the surface area of a hot liquid will help it cool down faster, so if you want to speed things along, you can always pour the hot fudge onto a half-sheet tray or 9×13-inch pan, cover, and chill before transferring to a bowl to beat it.
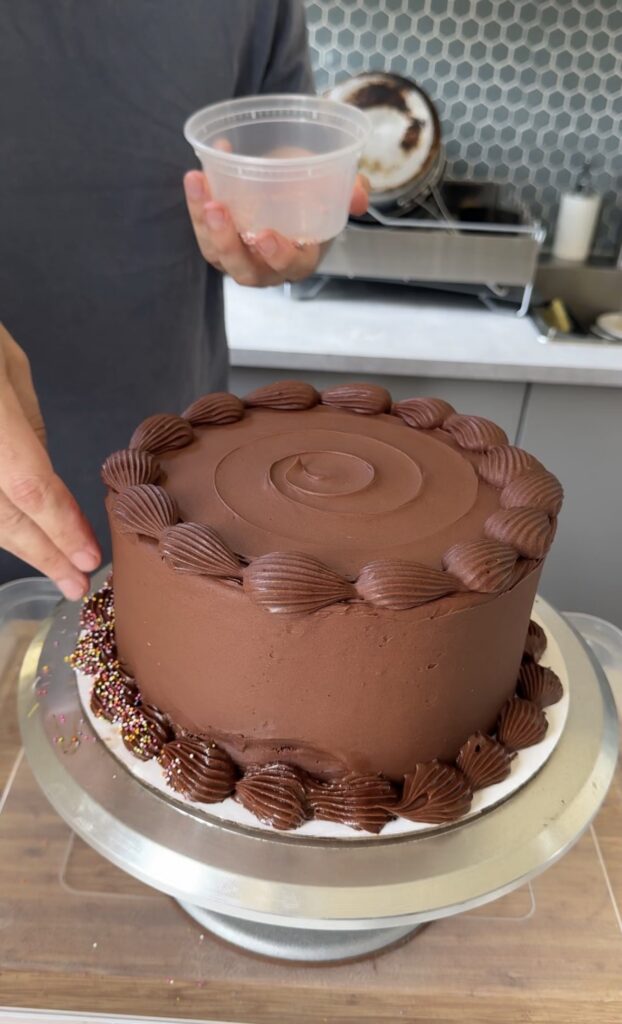
This frosting looks slightly matte while cold, but once at room temperature turns glossy. It was the hottest day of the year so far (85°F) and my kitchen was still without AC, so if the piped decoration looks a bit… lax, that’s why. If at any point your frosting is getting too loose, you can always stick it back in the fridge to firm up for 10 minutes, beat it a few times with a rubber spatula, and keep frosting.
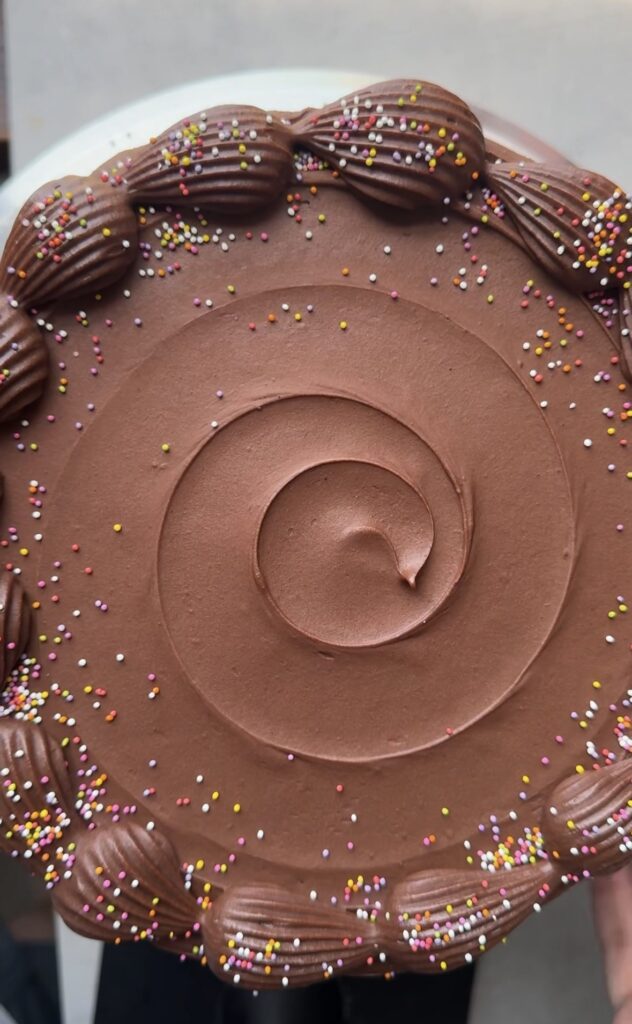

Chocolate Birthday Cake
Ingredients
Chocolate Cake
- 1 cup olive oil 227 grams, see note
- 1 1/4 cup light brown sugar 250 grams
- 1 cup granulated sugar 210 grams
- 4 large eggs at room temperature
- 2 teaspoons vanilla extract
- 2 3/4 cup all-purpose flour 357.5 grams
- 1 cup unsweetened natural cocoa powder 84 grams
- 1 1/2 teaspoon baking soda
- 1 1/2 teaspoon Diamond Crystal Kosher salt
- 1 cup buttermilk at room temperature (227 grams)
- 2 teaspoons instant espresso
- 1 cup hot water 227 grams
Chocolate Fudge Frosting
- 2 cups light brown sugar 420 grams
- 2/3 cup natural cocoa powder 57 grams
- 1 teaspoon Diamond Crystal Kosher salt
- 1 1/4 cups heavy whipping cream 283 grams
- 1/2 cup light corn syrup 156 grams
- 2 teaspoons vanilla extract
- 16 tablespoons unsalted butter cut into tablespoon slices
- 16 ounces semi-sweet chocolate
Instructions
- Preheat oven to 350°F. Prepare two 9-inch round cake pans by greasing with butter and lining the bottom of the tin with a round of parchment paper.
- In a large mixing bowl with a hand mixer, or in the bowl of a stand mixer fitted with the paddle attachment, whisk together the sugar and oil, then mix in the eggs and vanilla. Sift in cocoa powder and whisk just until combined.
- In a separate bowl, whisk together the flour, baking soda and salt. With the mixer on low, alternate adding one-third of the flour and one-half of the buttermilk at a time, beginning with the flour, until both are gone.
- Microwave the water until very hot, but not quite boiling, then stir in the instant espresso. With the mixer on low, stream in the hot liquid. Mix just until fully combined and scrape the sides and bottom of the bowl with a rubber spatula to ensure everything is homogenous.
- Pour the batter into the prepared tin and tap it on the counter to pop any large air bubbles. Bake on the middle rack for 40 minutes or until the tops spring back when lightly pressed and a wooden toothpick comes out clean or with just a few moist crumbs.
- Allow the cakes to cool in the tin for 10 minutes then run a knife around the edges of the cakes to loosen them. Turn out the cake onto a wire rack to cool completely.
- Make the fudge frosting. In a saucepan, pot or dutch oven at least 2 quarts large, stir together the sugar, cocoa and salt until combined. Add in the heavy whipping cream and corn syrup and cook over medium heat, stirring until the sugar is dissolved and the mixture is smooth, glossy, and just beginning to bubble around the edges. Remove from heat and whisk in the vanilla. Add the butter, two tablespoons at a time, mixing until completely combined. Add the chocolate and whisk until melted, smooth and homogenous.
- Transfer to a large mixing bowl (if you have a hand mixer) or the bowl of a stand mixer, cover the surface with plastic wrap and chill for three to four hours or until thick and firm. (To speed this up, stir the mixture a few times while chilling or, alternately, pour the hot fudge over a half sheet tray, cover and chill, then transfer to a large mixing bowl/stand mixer bowl.)
- Once the cakes are fully cool, trim off the dome tops with a serrated knife to create a level surface for stacking.
- With a hand mixer or in the bowl of a stand mixer with the beater attachment, beat the chilled fudge on medium-high speed until lightened in color and spreadable. It will take a bit to get loosened up — let it sit a minute or two at room temperature if it’s too thick.
- Place a small dollop of frosting on your cake plate or board, and center the first cake layer cut side up. Cover the cake top in a thick layer of frosting, all the way to the edges. Gently place the second cake layer on top, cut side down.
- Cover the whole cake with a very thin layer of frosting. (This is called the crumb coat as it traps all the crumbs.) Refrigerate for an hour so the cake can firm up, then spread on a top coat using almost all the remaining frosting.
- Decorate the cake by piping on designs of any remaining frosting and/or sprinkling on nonpareils. Store in the refrigerator and set out at room temperature one hour before serving.
Notes
Let's keep in touch...
Newsletter subscribers receive early access to new recipes, my best recipe, culture and product recommendations, and updates on all things easygayoven.
(Plus, paid members receive a bonus, exclusive recipe every month!)
For even more, follow along on Instagram and TikTok @easygayoven and at easygayoven.substack.com
© easygayoven 2022 | design by tonic

+ Show / Hide Comments
Share to: