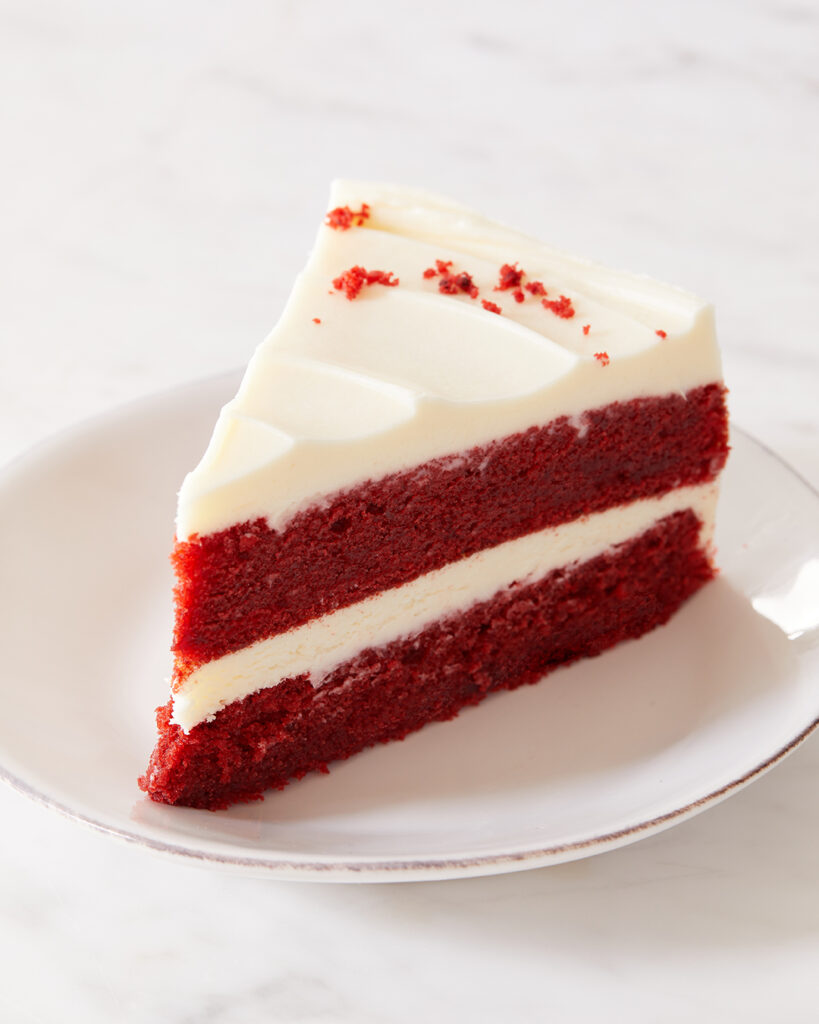
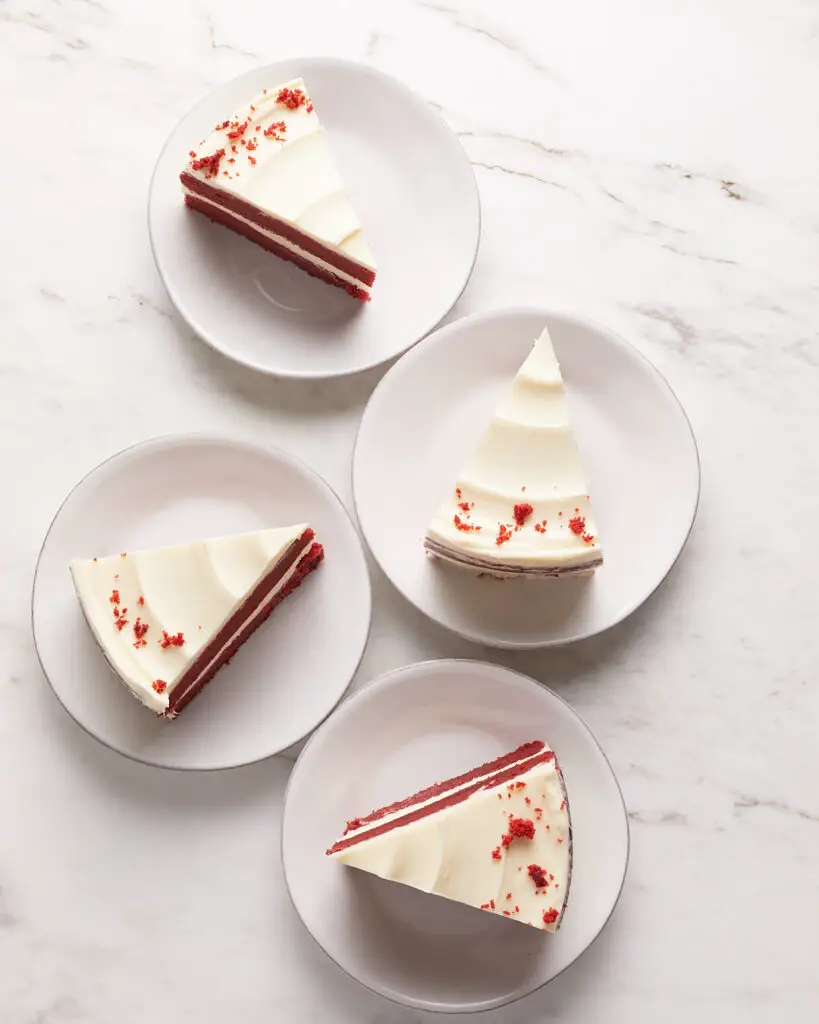
Why does red velvet cake have a distinct taste when it’s basically a chocolate cake colored with red food dye? It’s because there’s actually only a small amount of cocoa powder in most recipes. Some recipes only call for two or three tablespoons — whereas most chocolate cake recipes call for triple that or more. Of course, with this recipe, as I learned, you can’t add too much cocoa or you won’t be able to achieve the signature red color, no matter how much food coloring you add. There’s also the important addition of two ingredients that give red velvet a unique flavor: white vinegar and, usually, buttermilk.
This recipe makes two, nine-inch cake layers and just enough cream cheese buttercream to lightly frost the whole cake. Since it’s so rich, I don’t like too much, but you can totally double the recipe to make more.
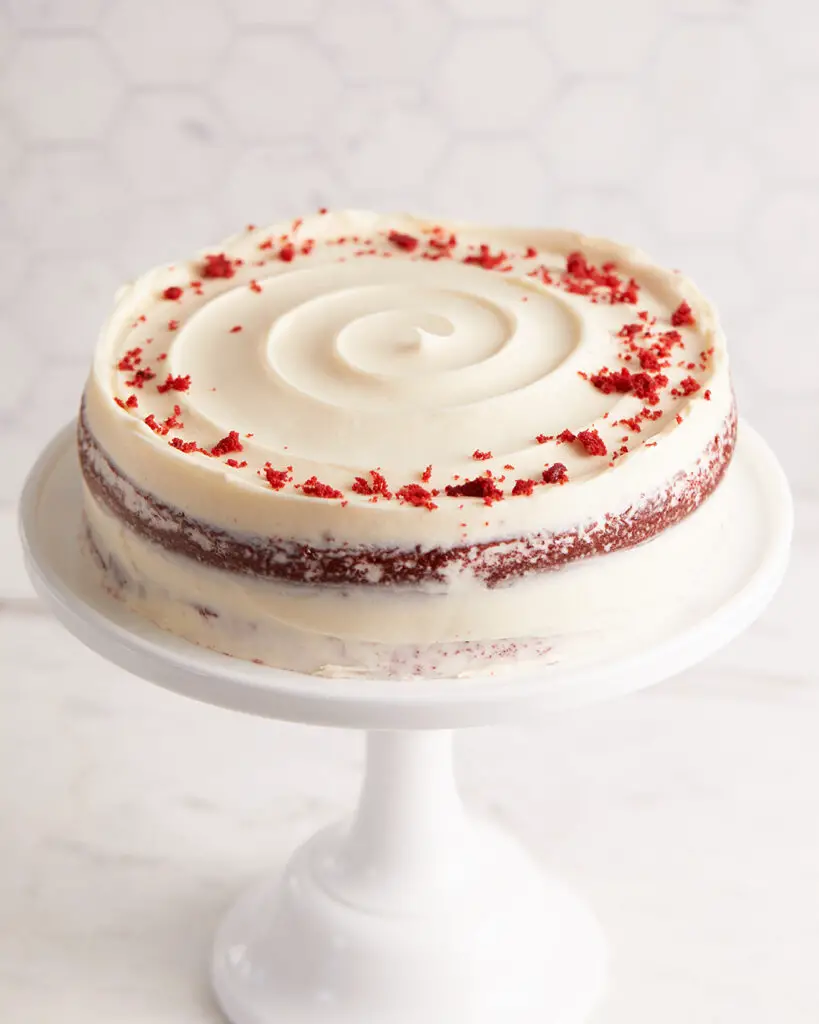
Here are 4 tips for making red velvet cake
- Start with room-temperature ingredients. Not only do you need softened butter to properly cream it with sugar, but in general, ingredients that are the same temperature combine and emulsify way better. From finding too-cold bits of cream cheese in your frosting to dumping in ice-cold eggs and curdling your butter, a lot can go wrong when two ingredients at very different temps meet in the bowl.
- Sifting is close to godliness. In my initial tests, I found little black dots all over my batter. The culprit was clumpy cocoa that never fully incorporated. Don’t make my mistake; Sift all your dry ingredients before mixing them into the butter/sugar/egg mixture. This also prevents clumps of baking soda and baking powder, which can cause excess tunneling in your baked cake.
- Don’t over-beat. When creaming the butter and sugar, you really shouldn’t increase your mixer speed past medium. This ensures that that the ingredients slowly and gradually build up air volume, resulting in a more stable structure and even rise. When you add the last drops of the wet ingredients, turn the mixer off and finish mixing with a rubber spatula. Over-mixing at this stage can result in a tough cake.
- Don’t over-beat your frosting, either. With many buttercreams, more mixing is actually good because it gets rid of air bubbles and makes a really smooth frosting. When cream cheese is added into the equation, I have found, over-beating can cause the buttercream to split and become grainy and almost foamy. Gross. Once you add the cream cheese, you only need to beat it in until it’s combined.
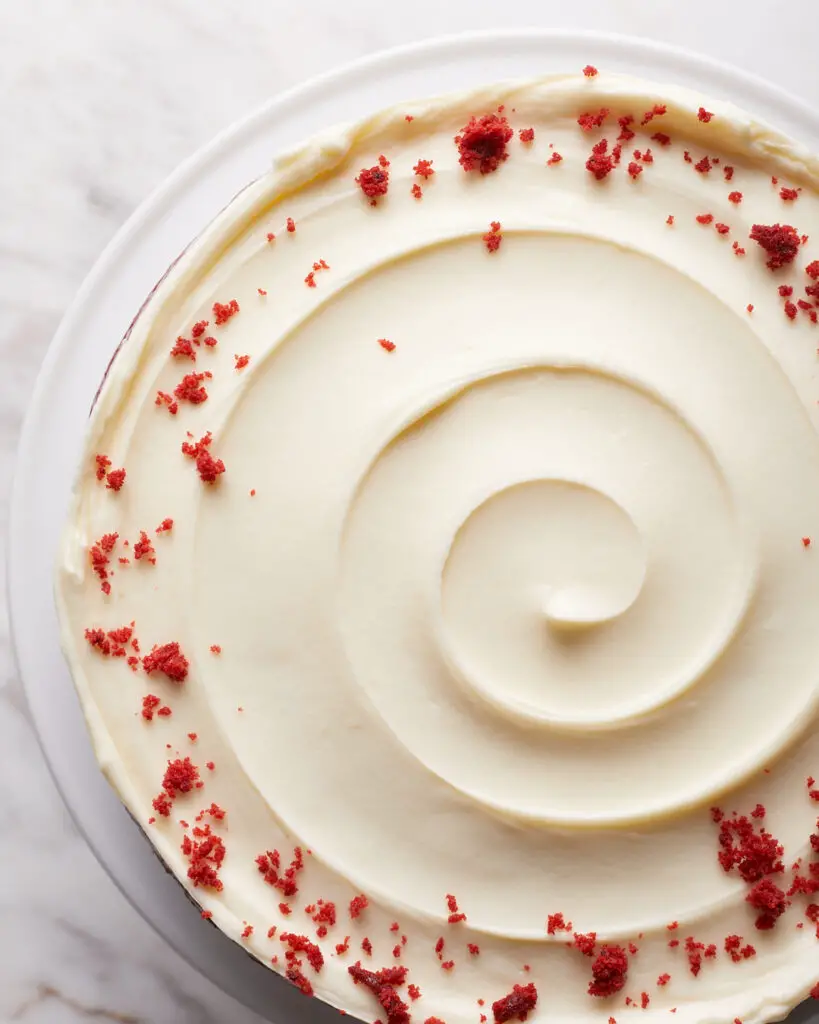
Did you make this red velvet cake? I want to see! Tag me @easygayoven on Instagram and TikTok.
Red Velvet Cake with Cream Cheese Frosting
Ingredients
Cake Layers
- 1 cup all-purpose flour (127 grams)
- 1 cup cake flour (117 grams)
- 1/4 cup natural cocoa powder sifted (24 grams)
- 1 teaspoon baking powder
- 1/2 teaspoon baking soda
- 1 teaspoon kosher salt
- 1 cup buttermilk at room temperature (236 milliliters)
- 1/2 cup sour cream at room temperature (118 milliliters)
- 1/4 cup plus 2 tablespoons vegetable oil (60 milliliters)
- 2 teaspoons vanilla extract
- 1 teaspoon white distilled vinegar
- 2 teaspoons red food coloring
- 3/4 cup unsalted butter at room temperature (170 grams)
- 1 ½ cups granulated sugar (340 grams)
- 3 large eggs at room temperature
Cream Cheese Frosting
- 8 ounces cream cheese at room temperature
- 1 ½ cup unsalted butter at room temperature (339 grams)
- 1 cup powdered sugar (120 grams)
- kosher salt
- 1 teaspoon vanilla extract
Instructions
- Preheat oven to 350° F and set one rack to the middle position.
- Prepare two 9-inch cake tins by greasing them, covering the bottom in a circle of parchment paper, and dusting the sides with flour.
- In a small mixing bowl, whisk together the flours, cocoa powder, baking powder, baking soda, and salt.
- In a liquid measuring cup or bowl, whisk together the buttermilk, sour cream, vegetable oil, vanilla, vinegar, and food coloring.
- In the bowl of a stand mixer, or in a large mixing bowl with a hand-held mixer, cream together the butter and sugar on medium speed until white and fluffy.
- Add in the eggs, one at a time, mixing until combined and scraping down the sides of the bowl after each addition.
- Into the egg, sugar, and butter mixture, beat in one-third of the dry ingredients, then one-third of the wet ingredients, alternating until all the ingredients have been added
- Turn off the mixer just before everything is combined. Scrape the sides of the bowl one last time and give everything one final stir.
- Divide the batter equally into both tins. It helps to weigh them on a digital scale to ensure evenness.
- Bake on the middle rack for about 30-32 minutes or until a cake tester comes out clean and the cake’s top bounces back when gently pressed.
- Let the cakes cool in their tins for about 10 minutes then turn them out onto wire racks to finish cooling.
- Make the cream cheese frosting. In the bowl of a stand mixer fitted with the paddle attachment, cream together the butter, powdered sugar, and a pinch of salt until white in color and fluffy. Add in the vanilla and cream cheese and beat on low for about 30 more seconds.
- Once the cakes are fully cooled, it’s time to assemble. If your cakes have a domed top, you can level them off with a bread knife and reserve the tops. Frost and decorate the cake however you like. I used the reserved cake tops to crumble up and sprinkle on the cake at the end.
Leave a Reply
Let's keep in touch...
Newsletter subscribers receive early access to new recipes, my best recipe, culture and product recommendations, and updates on all things easygayoven.
(Plus, paid members receive a bonus, exclusive recipe every month!)
For even more, follow along on Instagram and TikTok @easygayoven and at easygayoven.substack.com
© easygayoven 2022 | design by tonic
Made this cake last night. Turned out lovely. One cup of powdered sugar in the frosting was not enough for my taste, it was just a little flat. I ended up adding about a half cup more and it was just right. Helped the cream cheese flavor come forward a bit.
I have two 8-inch cake pans with 3-inch sides. Do you think I could use those instead of two 9-inch pans?
Yes, you’d probably just have to bake them a few minutes longer. Happy baking!
—Eric